Set up payroll, expense and loan settings
Esta página aún no está disponible en tu idioma.
Settings › Pay holds the settings of three modules: Payroll, Reimbursements (expense reports) and Loans. Each has its own tab and its own on/off switch. Many of these settings are saved but not used by the app yet. This page says which ones change something today, so you know what to rely on.
Running payroll, reviewing expense reports and setting up salary structures and tax slabs are covered in their own guides.
Open the Pay settings
Section titled “Open the Pay settings”-
Select Settings in the menu bar, or the ⚙ next to the title of the Pay page, which opens the settings of the tab you’re on. If you’re an Admin, turn on admin mode first: select your name at the top right, then Elevate to Admin.
-
Open Pay, then the Payroll Config, Reimbursements or Loans tab.
-
Change what you need, then select Save changes in the bar at the bottom of the page.
Each tab starts with its module’s switch, such as Payroll is on. Payroll and Loans are off after setup and Reimbursements is on; see Turn modules on and off. While a module is off, its tab only offers to turn it on.
Reset to defaults, at the bottom of each tab, puts the built-in values back into the form. Nothing changes until you save.
Who can save
Section titled “Who can save”Each tab shows only to people who can save it, and the Pay card shows when you can open at least one of its tabs:
| Tab | Permission to save | Built-in roles that have it |
|---|---|---|
| Payroll Config | Manage settings in Payroll | Admin, Finance |
| Reimbursements | Manage policies in Reimbursements | Admin, Finance |
| Loans | Manage types in Loans | Admin, HR Admin, Finance |
So Finance gets the Pay card with all three tabs, and HR Admins get it with Loans only. Turning a pay module on or off needs Manage features in System, which Finance doesn’t have: while a module is off, Finance sees Your roles can’t turn modules on. Ask an admin to turn it on. on its tab.
Payroll Config
Section titled “Payroll Config”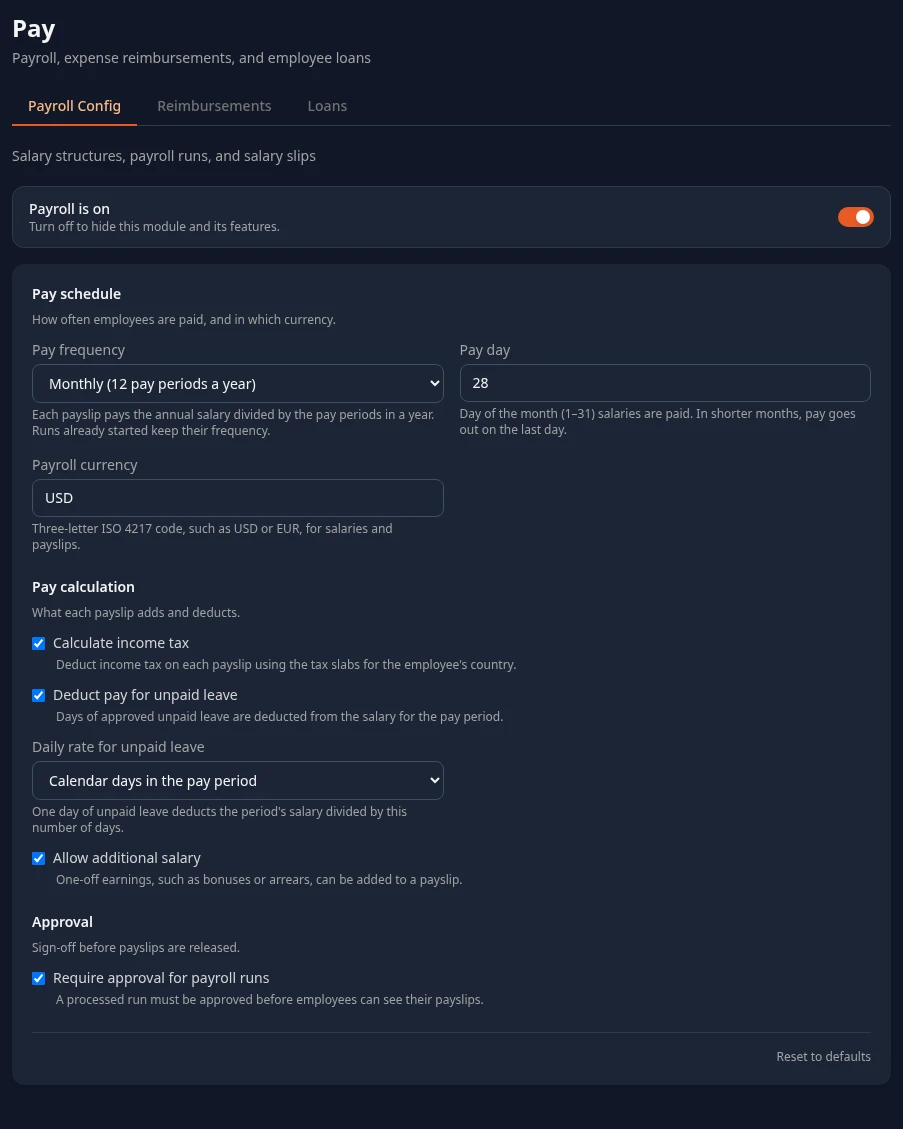
| Setting | What it does | Default |
|---|---|---|
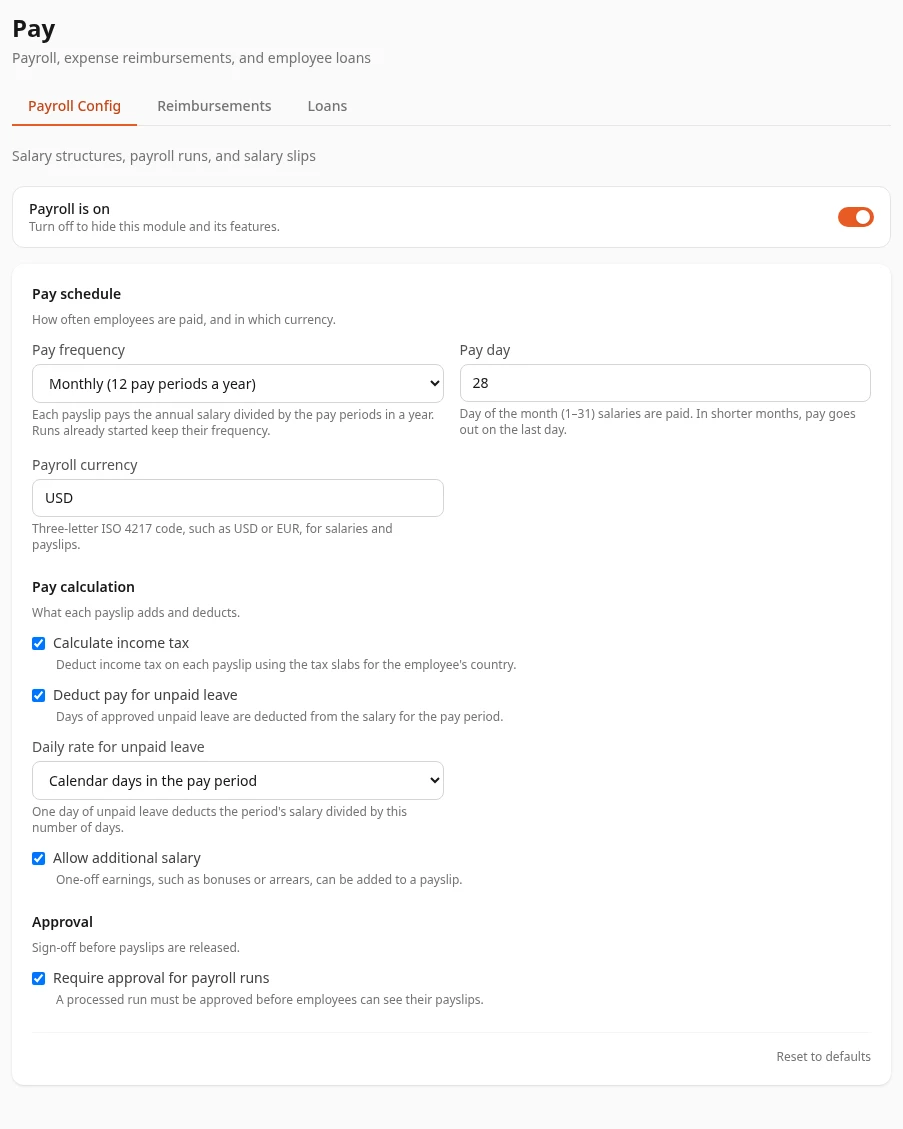
| Pay frequency | How many pay periods a year: Monthly (12), Twice a month (24), Every two weeks (26) or Weekly (52). Each payslip pays the annual salary divided by that number. A payroll run keeps the frequency it started with. | Monthly |
| Pay day | Only for monthly payroll. It’s saved but not used yet: payslips don’t show a pay date. | 28 |
| Payroll currency | Saved but not used yet. Payslips always show amounts with a $ sign. | USD |
| Calculate income tax | Meant to turn income tax on and off. Today, payroll runs deduct tax from the tax slabs for the employee’s country whether this is on or off. | On |
| Deduct pay for unpaid leave and Daily rate for unpaid leave | Saved but not used yet. Payroll runs count every working day as worked and never deduct unpaid leave or absences. | On, Calendar days in the pay period |
| Allow additional salary | Saved but not used yet. | On |
| Require approval for payroll runs | Saved but not used yet. Employees see their payslip on the Pay page as soon as a run creates it. | On |
Payroll pays people only for the part of the pay period they were employed, using their start date and termination date.
Reimbursements
Section titled “Reimbursements”The Reimbursements tab is long. It holds the expense policy, then Expense categories, then Approval chain and Delegations, all saved together.
Checked when someone submits a report
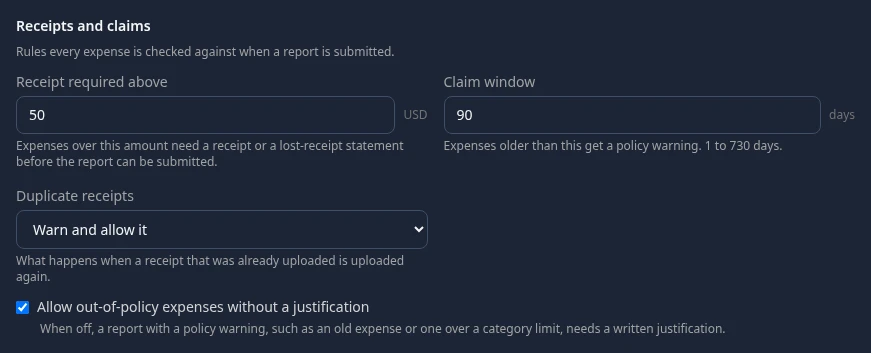
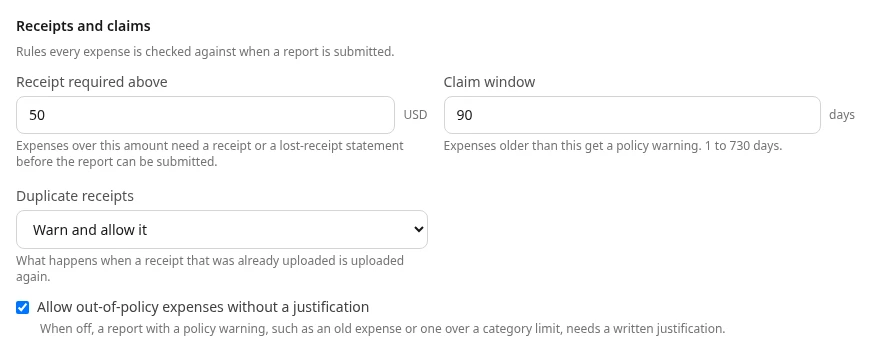
Section titled “Checked when someone submits a report”These settings work today. When an employee submits an expense report, each expense is checked against them, as Submit an expense report explains for employees.
| Setting | What it does | Default |
|---|---|---|
| Receipt required above | An expense over this amount with no receipt and no lost-receipt statement stops the report. | 50 |
| Claim window | An expense older than this many days gets a policy warning. 1 to 730 days. | 90 days |
| Allow out-of-policy expenses without a justification | When off, a report with a policy warning, such as an old expense or one over its category’s limit, needs a written justification. | On |
| Budget caps | A limit for the report total, with When exceeded set to Warn or Block submission. See How budget caps work. | No caps |
| Country rules | Replace the receipt limit, claim window and out-of-policy rule for employees whose HR profile is in that country, and set the Mileage rate and Distance unit there. A field left empty uses the company-wide value. | No country rules |
| Mileage rate (in a country’s rules) | What a Mileage expense pays per mile or kilometer. Without one, it pays 0.67 per mile. | 0.67 per mile |
How budget caps work
Section titled “How budget caps work”A cap is only compared with the total of the report being submitted, not with what the person or team has already spent in the Period. The period only appears in the warning. Each category caps are never checked. Each cost center and Each department caps only apply to a report with a cost center, and the expense form has no cost center field, so in practice only Each employee and Each employee, per period caps work.
Expense categories
Section titled “Expense categories”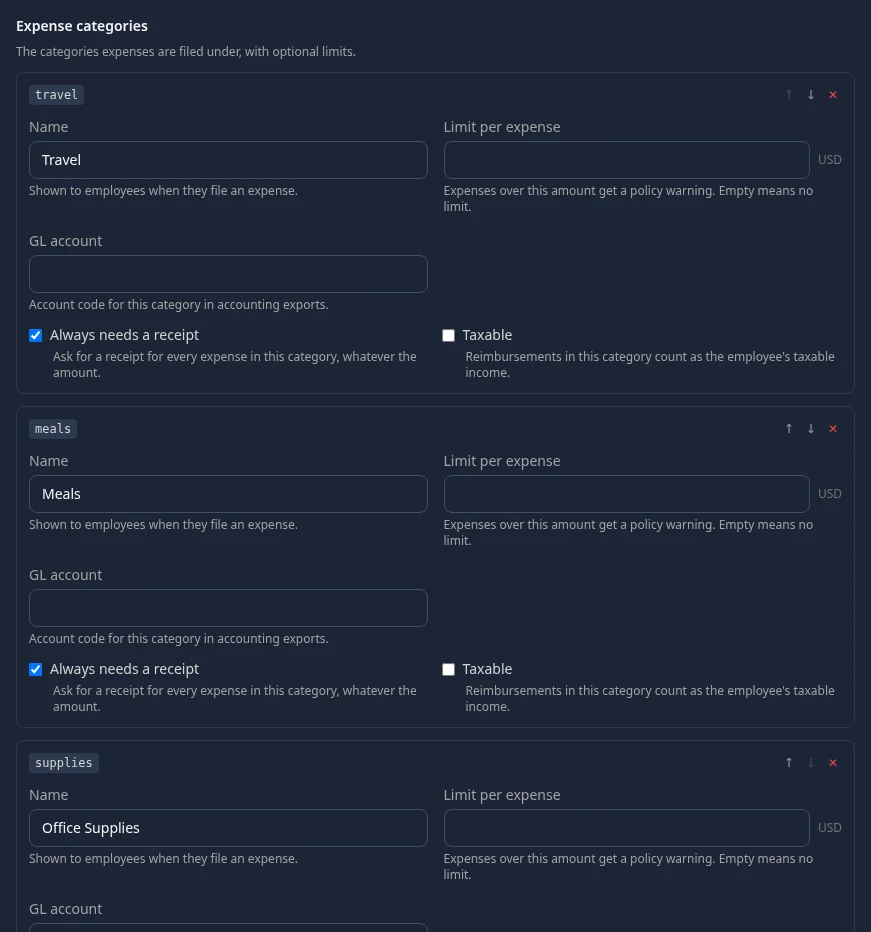
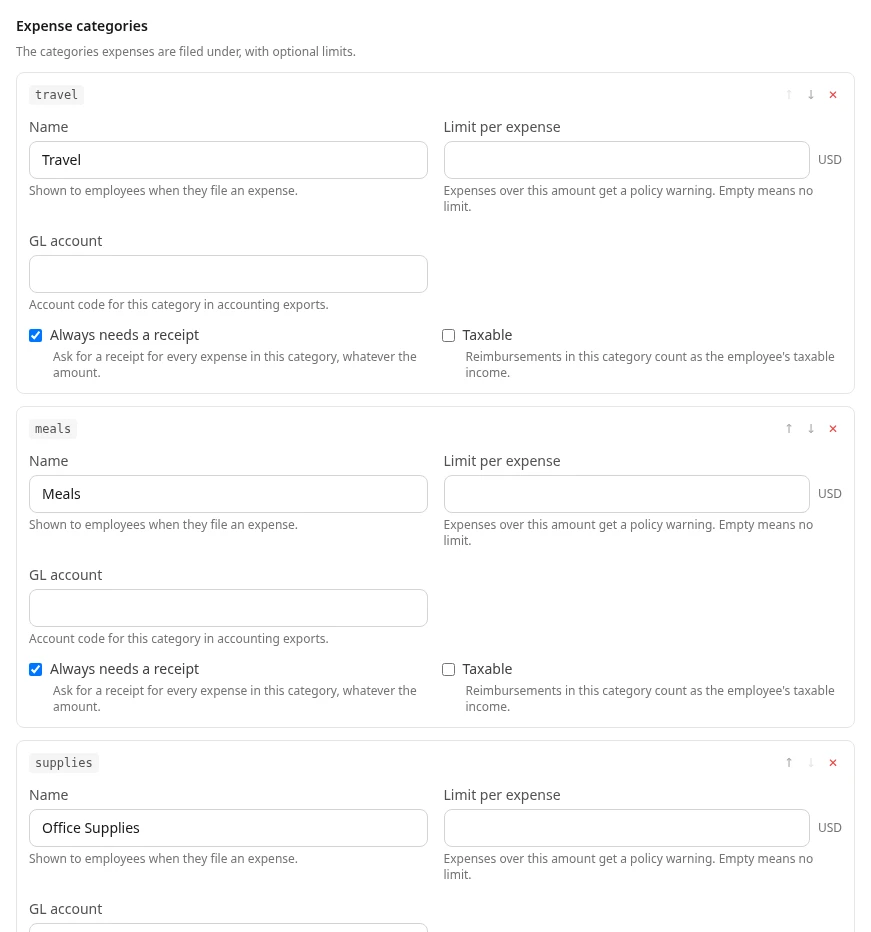
| Setting | What it does |
|---|---|
| Limit per expense | An expense over this amount gets a policy warning. |
| Blocked category IDs (under Blocked categories) | A report with an expense in one of these categories can’t be submitted. |
| Name, Always needs a receipt, Taxable, GL account | Saved but not used yet. |
Approval chain and delegations
Section titled “Approval chain and delegations”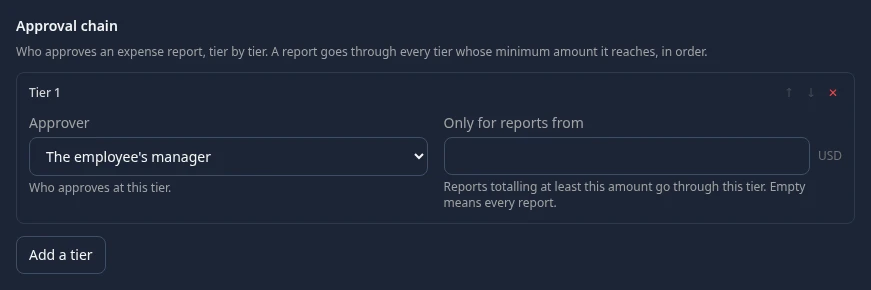
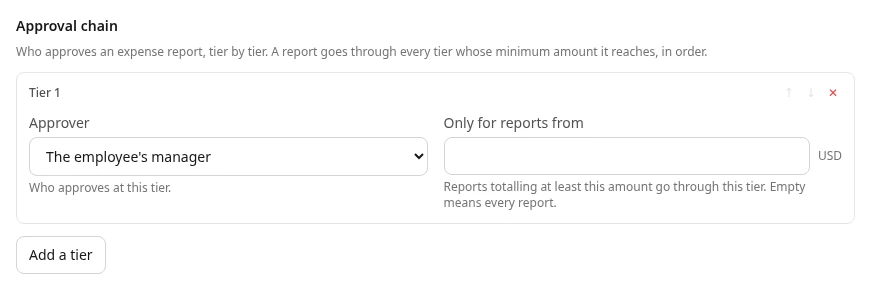
Approval chain and Delegations are saved but not used yet. Tiers, minimum amounts and delegates don’t change who can approve a report. Today:
- Anyone whose role has Approve in Reimbursements at a reach that covers the employee can approve or reject: the employee’s managers, for the people in their org, and Finance, for everyone.
- Every report needs two approvals: the first moves it to Pending approval, the second to Approved. The same person can give both.
- Nobody can approve their own report, or one they filed for someone else.
- On the report page, only Admins see Approve, Reject and Mark as Paid, so managers and Finance can’t act from the screen yet.
Saved but not used yet
Section titled “Saved but not used yet”These settings on the Reimbursements tab have no effect yet:
- Base currency, Allow expenses in other currencies and Exchange rate. The expense form starts at USD and employees type the currency themselves.
- Duplicate receipts, Accepted file types and Largest receipt file. Uploads accept PNG, JPEG, HEIC and PDF files of any size.
- Payment methods, Cost centers, Projects, Clients, Export formats, Receipt retention and per-diem rates. The only export is a CSV download of paid reports.
- Notifications. Nobody is told about expense reports at the moment: no screen shows these notifications and none are emailed.
| Setting | What it would do | Default |
|---|---|---|
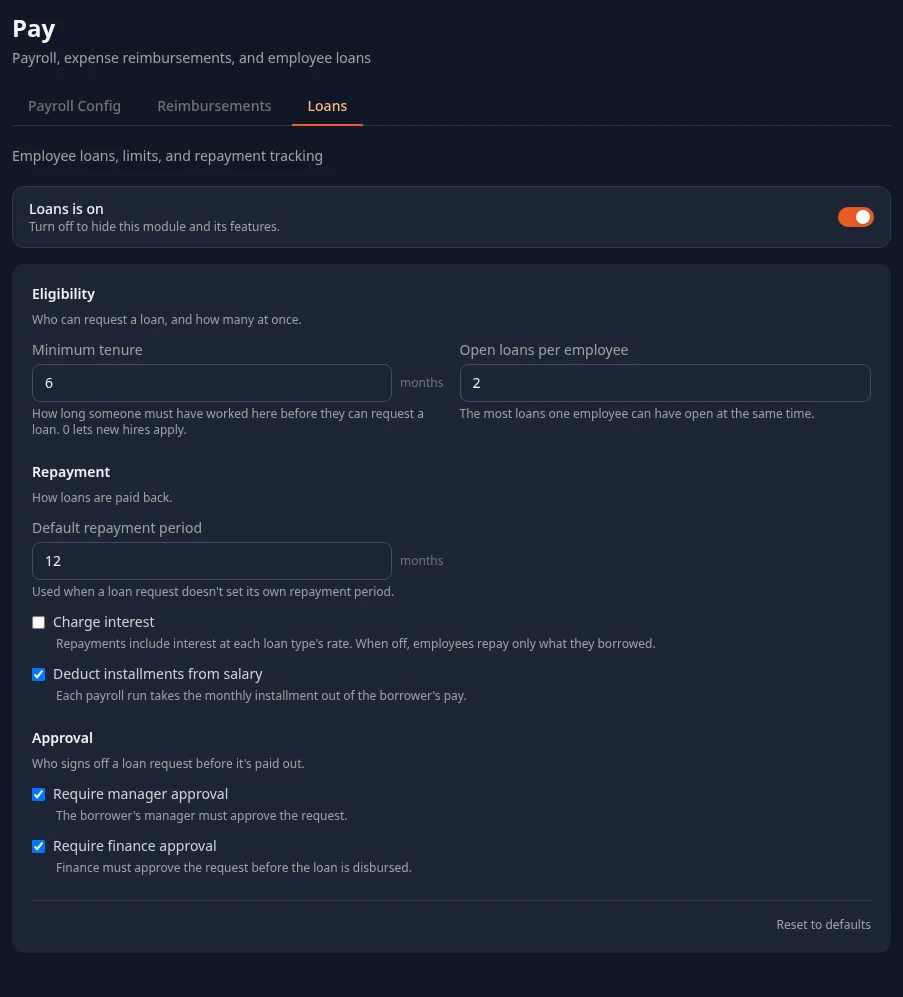
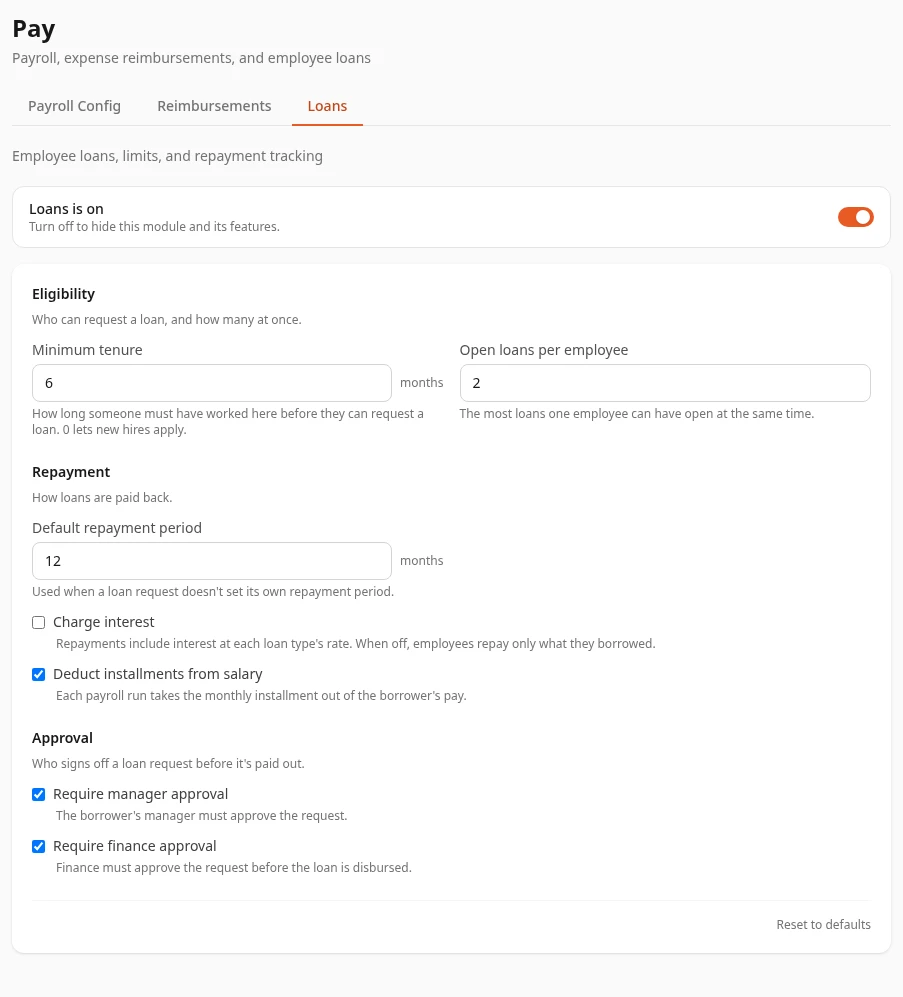
| Minimum tenure | How long someone must have worked here before they can request a loan. | 6 months |
| Open loans per employee | The most loans one person can have open at once. | 2 |
| Default repayment period | Used when a request doesn’t set its own period. | 12 months |
| Charge interest | Adds interest at each loan type’s rate. | Off |
| Deduct installments from salary | Takes the monthly installment out of each payroll run. | On |
| Require manager approval and Require finance approval | Who signs off a request before the loan is paid out. | Both on |
Can’t see this?
Section titled “Can’t see this?”- There’s no Pay card in Settings. If you’re an Admin, turn on admin mode. Other people need one of the permissions in Who can save.
- A tab only shows a button such as Enable Payroll. The module is off: select the button to turn it on. Without Manage features in System there’s no button: ask an Admin.
- A tab is missing, such as Payroll Config for HR Admins. Your roles can’t save it. See Who can save.