Go-live checklist
Este conteúdo não está disponível em sua língua ainda.
Work through this list after the setup wizard (see the admin quick start) to get your workspace ready for your company. Go from the top: later items build on earlier ones, and adding your people comes near the end. Items marked optional can wait until after launch.
Most items are in Settings. Admins turn on admin mode first: select your name in the top bar, then Elevate to Admin. HR Admins don’t need admin mode.
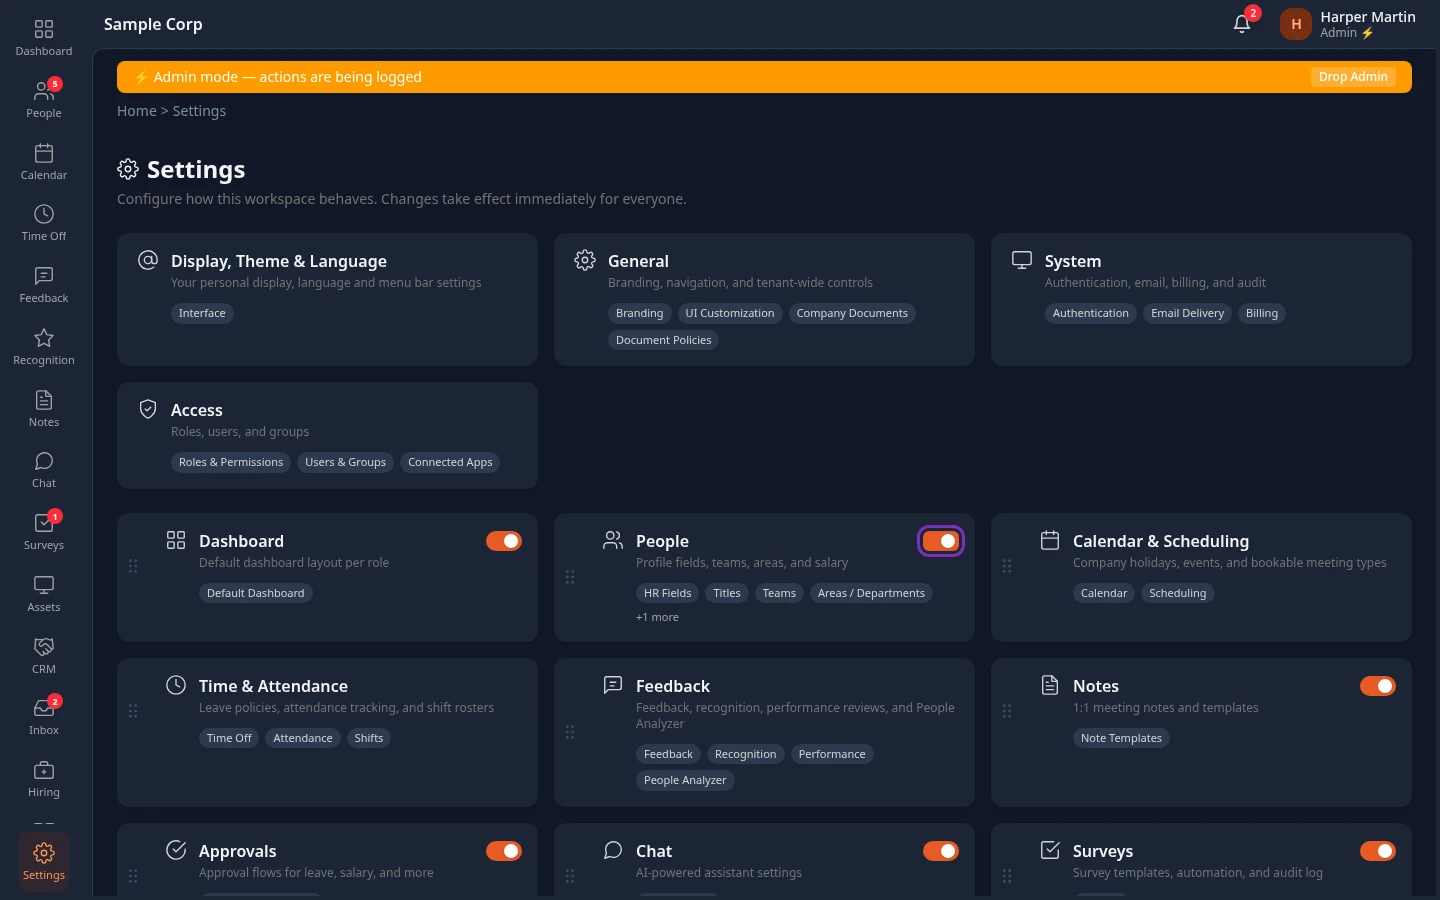
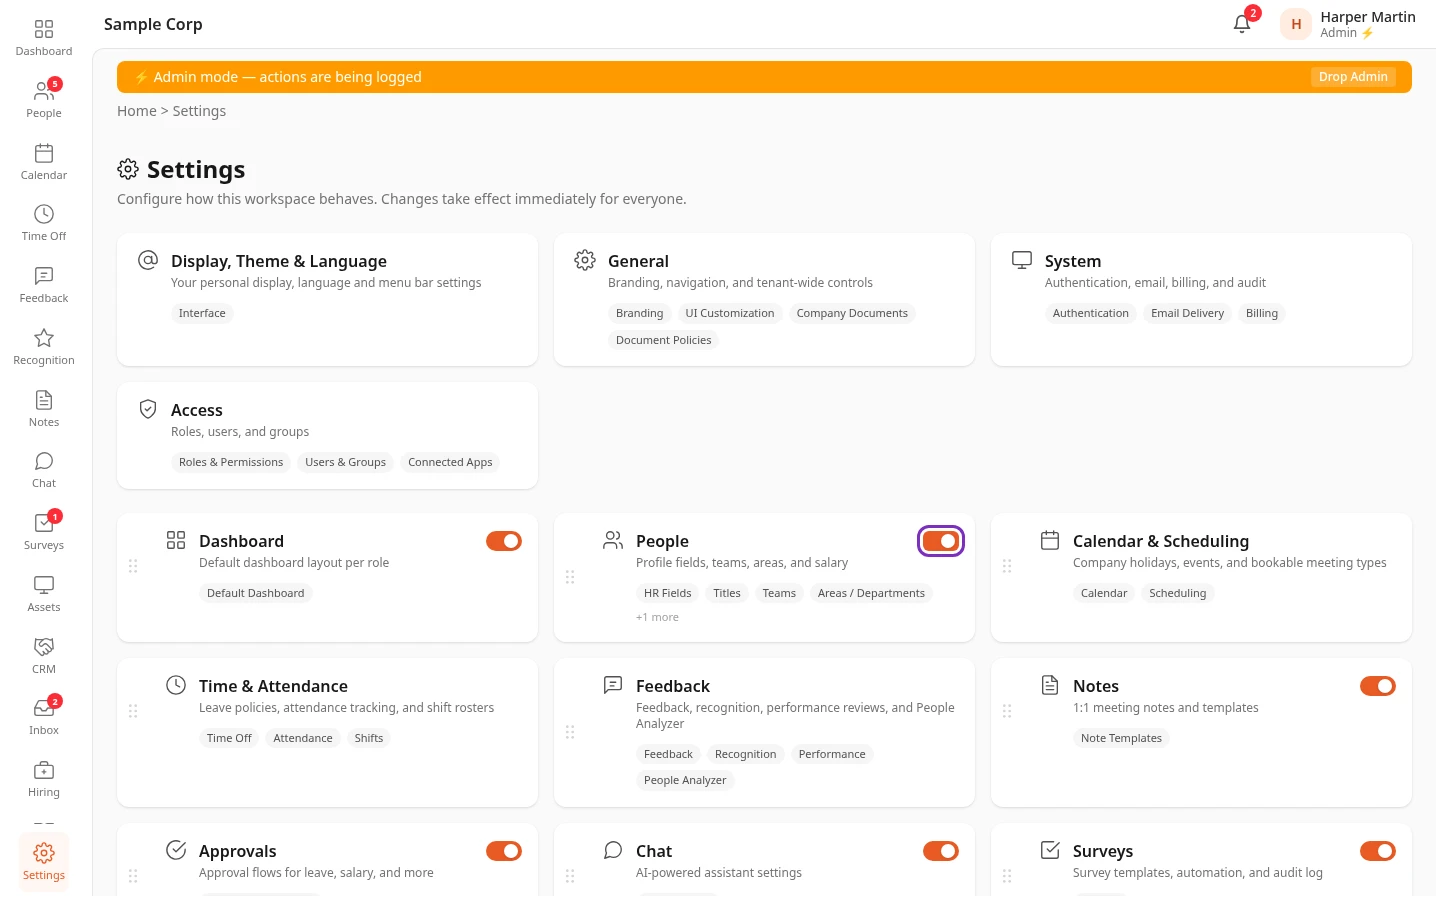
The Settings page has a card for each part of the app, and each card opens a set of tabs. In this list, Settings › People › Teams means the People card, then its Teams tab.
| Item | Where | Who | |
|---|---|---|---|
| 1 | Remove the sample data | The banner at the top of the page | Admin |
| 2 | Brand your workspace | Settings › General › Branding | Admin, HR Admin |
| 3 | Set up sign-in | Settings › System › Authentication | Admin |
| 4 | Check email delivery (optional) | Settings › System › Email Delivery | Admin |
| 5 | Turn modules on or off | Settings | Admin, HR Admin |
| 6 | Set up people fields, teams, areas and titles | Settings › People | Admin, HR Admin |
| 7 | Set up leave and holidays | Settings › Time & Attendance and Settings › Calendar & Scheduling | Admin, HR Admin |
| 8 | Check the approval flows (optional) | Settings › Approvals | Admin |
| 9 | Set up roles | Settings › Access | Admin |
| 10 | Add your people | People | Admin, HR Admin |
| 11 | Check your plan and add a card | Settings › System › Billing | Admin |
In this list, Admin means an Admin in admin mode.
Remove the sample data
Section titled “Remove the sample data”Skip this if you went straight to Quick setup or Full setup.
Go Live deletes everything in the workspace, including any settings you changed while you explored, so do it before anything else on this list.
-
Turn on admin mode.
-
In the banner at the top of the page, select Go Live.


-
Type
go livein the box, in lowercase, then select Go Live. -
When the setup wizard opens, go through Quick setup or Full setup.
What’s deleted and what’s kept: see Go live: remove the sample data.
Brand your workspace
Section titled “Brand your workspace”In Settings › General › Branding, check what the setup wizard set and fill in the rest. Then select Save changes in the bar at the bottom of the page.
| Setting | What it does |
|---|---|
| Company Name | Your company’s name, used in invitation emails and on the welcome form new people fill in. |
| Sidebar Title | The name at the top left of every page. |
| Logo | Shown at the top left instead of the sidebar title. Paste a web address, or select Upload for a JPEG, PNG, WebP or SVG file. |
| Primary Color | Saved with your branding, but the app doesn’t use it yet: buttons and highlights keep their standard colors. Only your careers site uses it. |
| Language | The language everyone starts with. Each person can change theirs: see Set your language, theme and menu bar. |
| Date Format | How dates are written in recognition posts and on the AI connection pages. Everywhere else, dates follow each person’s browser. |
| Fiscal year starts in | The first month of your fiscal year. Only the AI assistant uses it, for questions about quarters and fiscal years. January means calendar quarters. |
| Company timezone | The time zone the AI assistant uses for today’s date and its daily message limit. The rest of the app works in UTC or in each person’s time zone. |
The Auto-Onboarding switch on this tab is the same choice as the Onboarding step of the setup wizard. It doesn’t change how people join yet: see Add your people.
Set up sign-in
Section titled “Set up sign-in”In Settings › System › Authentication:
- Email & Password Login is on, with Secure Remote Password (SRP), so people sign in with their email address and a password.
- To use single sign-on, turn on SAML 2.0 SSO or OIDC SSO, then fill in the details from your identity provider under SAML 2.0 Configuration or OIDC Configuration. For OIDC, Domain Restriction limits sign-in to email addresses at one domain, such as
company.com. See Set up single sign-on. - Choose an MFA Policy: Optional (users choose), the default, Required for Admins and HR Admins, or Required for everyone. It applies to email and password sign-in, and people without two-step verification set it up the next time they sign in. Single sign-on uses your identity provider’s two-step verification instead.
- Brute-Force Protection locks an account for a while after 5 failed sign-in attempts. Change the number in Lockout Threshold (failed attempts).
Check email delivery
Section titled “Check email delivery”Optional. Anima HR sends emails, such as invitations and password resets, from its own email service, so there’s nothing to set up. In Settings › System › Email Delivery:
- Enable Email Delivery is on. Turning it off stops every email, invitations and password resets included. See Set up email delivery.
- To send from your own mail server, fill in Custom SMTP: SMTP Host, Port (587 or 465), Username, Password, Sender Email and Sender Name. Select Save changes, then Send Test Email: the test uses the saved settings.
Turn modules on or off
Section titled “Turn modules on or off”On the Settings page:
- A card for a single module, such as People, Hiring or Surveys, has a switch. Turning it off asks you to confirm with Disable, hides the module from everyone and moves the card to Disabled. Nothing is deleted, and you can switch the module back on from there.
- A card that groups several modules, such as Time & Attendance, Pay or Employee Lifecycle, has the switch on each tab instead. For example, the Leave Policies tab has Time Off is on.
- Drag the cards to change the order of the menu bar.
If you kept the setup wizard’s suggestions, these modules are off. Turn on the ones you need:
| Module | Where its switch is |
|---|---|
| Attendance | Settings › Time & Attendance › Attendance |
| Shifts | Settings › Time & Attendance › Shifts |
| Scheduling (booking pages) | Settings › Calendar & Scheduling › Scheduling |
| Payroll | Settings › Pay › Payroll Config |
| Loans | Settings › Pay › Loans |
| Onboarding Tasks | Settings › Employee Lifecycle › Onboarding |
| Lifecycle (promotions and transfers) | Settings › Employee Lifecycle › Promotions & Transfers |
| Separation | Settings › Employee Lifecycle › Separation |
| Training | Settings › Academy & Training › Training |
| AI connections (MCP) and AI connectors | Settings › AI connections (MCP) › Server Settings and Connectors. Admins only. |
To see what your plan includes, see Plans and features.
Set up people fields, teams, areas and titles
Section titled “Set up people fields, teams, areas and titles”A new workspace has no teams, areas or titles. Add them before you add people, so you can pick them for each person. In Settings › People:
| Tab | What to do |
|---|---|
| HR Fields | Review the fields on employee profiles. Add your own fields, and hide the ones you don’t use. |
| Titles | Add your job titles. They fill the title list on profiles. |
| Teams | Add your teams. They fill the Team list when you add someone, and the team filter on the People page. |
| Areas / Departments | Add your departments. If you don’t use them, turn Areas off with the switch on this tab. |
| Salary Settings | Optional. Who can request and approve salary changes. |
Set up leave and holidays
Section titled “Set up leave and holidays”- In Settings › Time & Attendance › Leave Policies, set up your leave types, entitlements, accrual and carry-over. If you did this in the setup wizard, check it here. See Leave policies.
- In Settings › Calendar & Scheduling › Company Calendar (or on the Calendar page), add your company holidays. A new workspace has none. Holidays show on the company calendar, and with the default Business days count method they aren’t deducted from time-off requests, and a request that falls only on weekends and holidays is refused. See See holidays and your time-off calendar.
Check the approval flows
Section titled “Check the approval flows”Optional. Settings › Approvals opens Workflows, the list of approval flows. The built-in flows work without changes:
| Flow | Who approves, by default |
|---|---|
| Leave Approval | The manager, then HR for requests longer than 5 days |
| Salary Change Approval | The manager of the person who requests the change, then HR |
| Termination Approval | The manager of the person who records the departure, then HR. The account is suspended right away: the approvals don’t hold it back |
| Offer Approval | The job’s hiring manager, then HR. The offer can be sent before it’s approved, and on jobs created in the app both steps go to HR |
HR steps go to the people with the HR Admin role. If nobody has it, they go to the Admins. Select a flow to change its steps, approvers and conditions.
Set up roles
Section titled “Set up roles”In Settings › Access:
- Roles & Permissions lists the built-in roles, such as Admin, HR Admin, Employee, Recruiter, Finance and Sales, with what each permission in them covers. Adjust them, or create your own roles, before you add people: you choose each person’s role when you add them. See Use the built-in roles.
- Users & Groups shows who holds which role. Use it to change people’s roles after you’ve added them, and to manage groups.
Plan to give your HR team HR Admin: they can then do most of this checklist, and they get the HR steps of the approval flows. Nobody is given Manager by hand: anyone with people reporting to them on the org chart gets it. See How roles work.
Add your people
Section titled “Add your people”-
Select People in the menu bar, then + Add Employee.
-
Enter the person’s Email, First Name and Last Name.
-
Leave Access Policy at Employee (default). If you choose another role, the person gets only that role, not Employee as well, so give extra roles afterwards in Settings › Access › Users & Groups. See Choose the role a new person starts with.
-
Fill in Title, Reports To and Team if you know them, and HR Profile if it shows. Set Reports To for everyone: managers get their team tools from it.
-
Select Send Invite.
The person gets an invitation email with a link to set their password, and can use Anima HR as soon as it’s set. The link works for 7 days. Until they set a password, their profile shows This person hasn’t set a password yet with a Resend Invite button, for people who can manage users (Admins in admin mode and HR Admins): it emails a new link that works for 24 hours, and older links stop working. They can also set their password with Forgot Password? on the sign-in page. See Sign in for what they see.
To share the link yourself instead, turn on Skip invite email before you select Send Invite. The link then shows for a few seconds in a message at the top right of the page, so copy it straight away.
People who sign in with single sign-on
Section titled “People who sign in with single sign-on”Once SAML or OIDC is on, people who aren’t in Anima HR yet can join by signing in through your identity provider, without an invitation. Their first sign-in creates their account. They fill in a short welcome form, then wait until someone activates them:
-
On the People page, open the person under Pending HR Review. In admin mode, a number on People in the menu bar shows how many people are waiting.
-
Under Work Info (fill in to activate), choose their Manager, and their Title and Team if you like. You can also correct the details they entered.
-
Select Activate User.
People you hire in Hiring are added to People for you, with the Employee role, and get the same invitation email when you hire them: it goes to the Work email you enter in Confirm hire, or to the candidate’s email if you leave it blank. Until they set a password, their profile shows This person hasn’t set a password yet with Resend Invite, as above. If someone hired earlier never got an invitation, open their profile and select Resend Invite: it also gives them the Employee role if they have none.
There’s no bulk import of people yet, so add the rest one by one or let them join through single sign-on. The Onboarding choice in the setup wizard and the Auto-Onboarding switch don’t change any of this yet.
Check your plan and add a card
Section titled “Check your plan and add a card”In Settings › System › Billing, Plan summary shows your Plan: Trial while you explore with sample data, and Standard once you’ve finished setup without it. Add a card under Payment methods with + Add card. Invoices appear under Invoice history.
You can’t change your plan from this page. See Plans and features.