Set up single sign-on
Este conteúdo não está disponível em sua língua ainda.
With single sign-on (SSO), people sign in to Anima HR through your company’s identity provider, such as Okta, Microsoft Entra ID or Google Workspace. You register Anima HR as an app in your identity provider, then copy a few values from it into Settings › System › Authentication. Anima HR supports OpenID Connect (OIDC) and SAML 2.0, one app of each.
Before you start
Section titled “Before you start”- Keep Email & Password Login on until single sign-on works for you. See Choose how people sign in.
- Check that people’s Email in Anima HR is the address your identity provider uses for them: that’s how Anima HR finds their account. See How accounts are matched.
- You need the rights to add an app in your identity provider.
Values for your identity provider
Section titled “Values for your identity provider”Anima HR doesn’t show these values in Settings and has no metadata file to download, so enter them by hand. Here, your-company.animahr.io stands for your workspace’s address.
| Your identity provider asks for | Enter |
|---|---|
| OIDC: sign-in redirect URI (or callback URL) | https://your-company.animahr.io/api/auth/oidc/callback |
| SAML: Assertion Consumer Service (ACS) URL, single sign-on URL or reply URL | https://your-company.animahr.io/api/auth/sso/callback, with the HTTP-POST binding |
| SAML: service provider entity ID, audience or identifier | urn:hrms:sp. It’s the same for every Anima HR workspace. |
| SAML: Name ID format | Email address, with each person’s email address as the value |
Set up OIDC
Section titled “Set up OIDC”In your identity provider:
-
Create an OIDC (OpenID Connect) web app that uses the authorization code flow.
-
Add the redirect URI from Values for your identity provider.
-
Allow the scopes
openid,emailandprofile. -
Let only the people who should use Anima HR sign in to the app, for example by assigning it to them or to a group.
-
Copy the app’s client ID and client secret, and your identity provider’s discovery URL: the address of its discovery document, which ends in
/.well-known/openid-configuration. With Microsoft Entra ID, use the one with your directory (tenant) ID in it, notcommonororganizations.
In Anima HR:
-
Turn on admin mode, select Settings in the menu bar, open System, then the Authentication tab.
-
Turn on OIDC SSO. OIDC Configuration appears below the switches.
-
Fill in the settings below, then select Save changes.
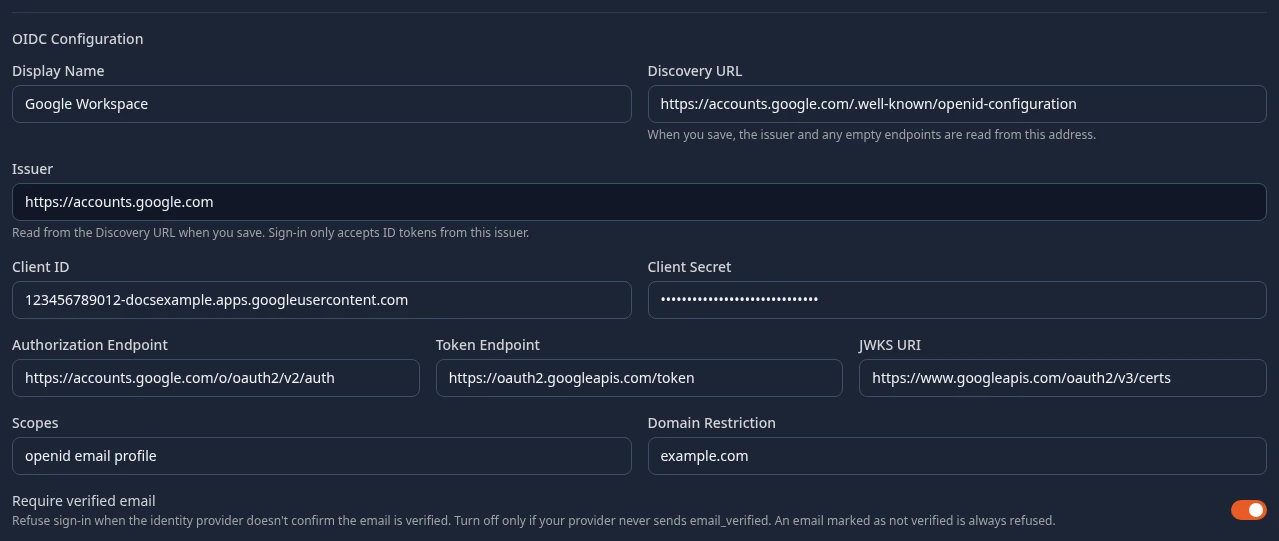
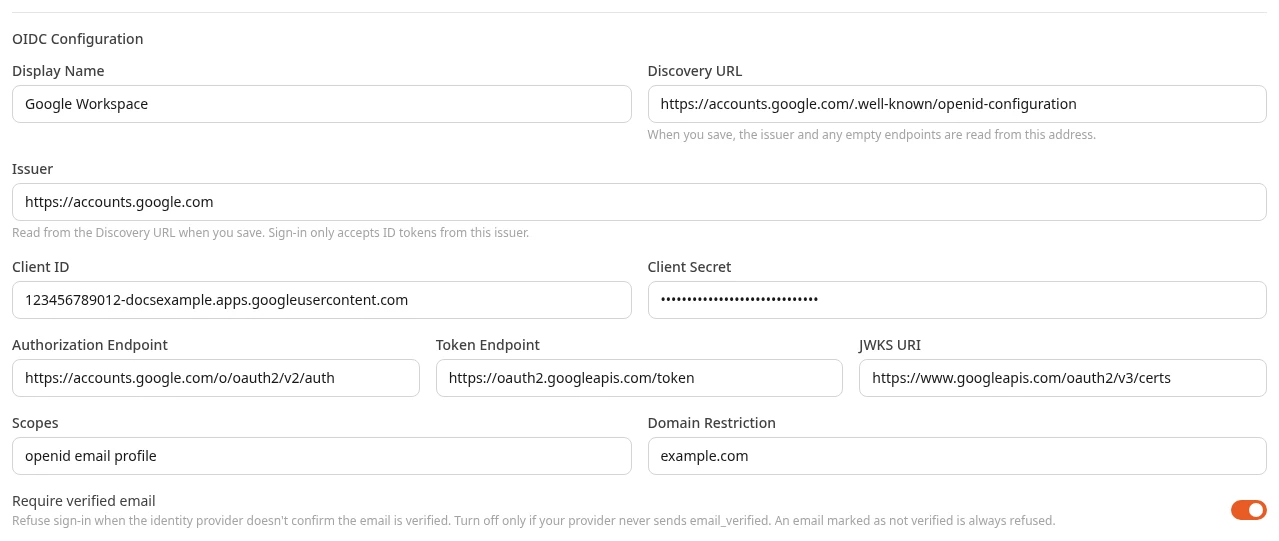
| Setting | What it does |
|---|---|
| Display Name | The name on the sign-in button: Sign in with followed by it. Empty: Sign in with SSO (OIDC). |
| Discovery URL | Your identity provider’s discovery document. When you save, Anima HR reads it, fills in Issuer, and fills in Authorization Endpoint, Token Endpoint and JWKS URI where they’re empty. It must be a public https:// address. You can also enter the issuer address itself: Anima HR adds /.well-known/openid-configuration. |
| Issuer | Your identity provider’s issuer. Anima HR accepts only sign-ins issued by it. With a Discovery URL it’s read from the discovery document when you save and you can’t edit it; without one, type it in. OIDC sign-in doesn’t work while it’s empty. |
| Client ID | The client ID of the app you created. |
| Client Secret | The app’s client secret. Anima HR sends it in the body of the token request (client_secret_post): if your identity provider asks how the app authenticates, choose that. Leave it empty for an app without a secret. |
| Authorization Endpoint | The authorization_endpoint from the discovery document. |
| Token Endpoint | The token_endpoint. |
| JWKS URI | The jwks_uri: where Anima HR gets the keys that check your identity provider’s signature. |
| Scopes | What Anima HR asks your identity provider for. Keep openid email profile, the default: Anima HR needs the email address, and takes people’s first and last names from the profile. |
| Domain Restriction | Only email addresses at this domain can sign in, such as company.com, people already in Anima HR included. It’s one domain, matched exactly: company.com doesn’t let in eu.company.com. Empty: any address your identity provider sends. |
| Require verified email | On by default. Anima HR refuses a sign-in unless your identity provider says it verified the email address (the email_verified claim). Turn it off only if your identity provider never sends that claim and you control every address in it. Even then, an address your identity provider marks as not verified is refused. |
When you save, Anima HR refuses the settings with a message if:
- OIDC SSO is on with no Issuer and no Discovery URL: Enter the Discovery URL (or the issuer) before turning on OIDC.
- the Discovery URL isn’t a public
https://address: The Discovery URL must be a public https:// address without a query or fragment. - the discovery document can’t be read: Couldn’t read an OpenID configuration from the Discovery URL. Check the address and try again.
- the issuer in the discovery document isn’t the Discovery URL without
/.well-known/openid-configuration: The issuer in the discovery document doesn’t match the Discovery URL. Use your identity provider’s own discovery address (not a shared multi-tenant one).
The endpoints must start with https://. Anima HR checks them only when someone signs in, so a mistake in an endpoint shows up as a failed sign-in, not when you save.
Set up SAML
Section titled “Set up SAML”In your identity provider:
-
Create a SAML 2.0 app with the ACS URL, entity ID and Name ID format from Values for your identity provider.
-
Have it sign the assertion with RSA-SHA256, and don’t sign the whole response as well: Anima HR refuses a response with two signatures, or one signed with SHA-1. Don’t encrypt the assertion.
-
If you like, send each person’s first and last name as attributes.
-
Assign the app only to the people who should use Anima HR.
-
Copy three values from your identity provider: its sign-in URL for the app (often called the identity provider single sign-on URL; use the one for the HTTP-Redirect binding), its entity ID (sometimes called issuer), and its signing certificate, the text that starts with
-----BEGIN CERTIFICATE-----.
In Anima HR:
-
Turn on admin mode, select Settings in the menu bar, open System, then the Authentication tab.
-
Turn on SAML 2.0 SSO. SAML 2.0 Configuration appears below the switches.
-
Fill in the settings below, then select Save changes.
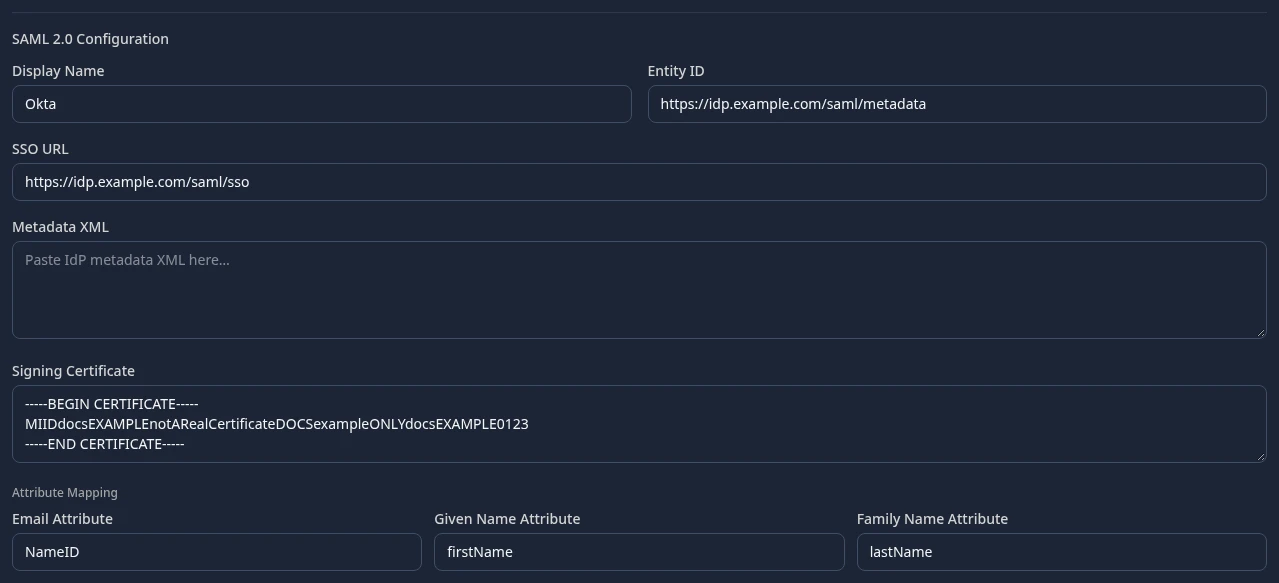
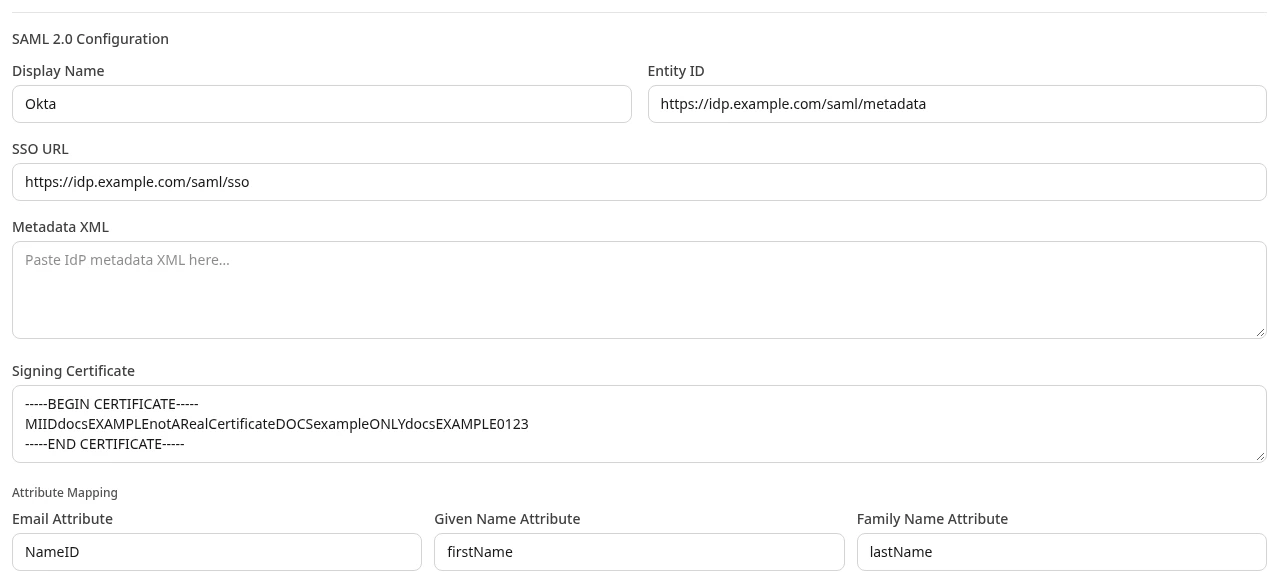
| Setting | What it does |
|---|---|
| Display Name | The name on the sign-in button: Sign in with followed by it. Empty: Sign in with SSO (SAML). |
| Entity ID | Your identity provider’s entity ID. Saved, but not checked yet. |
| SSO URL | Your identity provider’s single sign-on URL. Anima HR sends people there with a sign-in request. It must start with https://. |
| Metadata XML | Saved, but not used yet: fill in SSO URL and Signing Certificate yourself. |
| Signing Certificate | The certificate your identity provider signs with. Anima HR holds one at a time and refuses sign-ins once it expires, so paste in the new certificate when your identity provider switches to it. |
| Email Attribute | Where the email address is: NameID, the default, or the exact name of an attribute. |
| Given Name Attribute and Family Name Attribute | The exact names of the attributes that hold the first and last name. Leave them empty if you don’t send names. |
People start a SAML sign-in from the Anima HR sign-in page and must finish it within 10 minutes. Opening Anima HR from your identity provider’s app dashboard (IdP-initiated sign-in) doesn’t work: Anima HR refuses a sign-in it didn’t start.
Test single sign-on
Section titled “Test single sign-on”-
Open your workspace’s address in a private browser window.
-
Select the Sign in with button, and sign in at your identity provider with an account that’s also in Anima HR, such as your own.
-
You land on your Dashboard. If Sign-in didn’t complete appears instead, see If single sign-on fails.
How people sign in
Section titled “How people sign in”The sign-in page shows a Sign in with button for each method you turned on, above the password form. With Email & Password Login off, it goes straight to your identity provider instead, and to OIDC if both methods are on. What people see: Sign in with single sign-on.
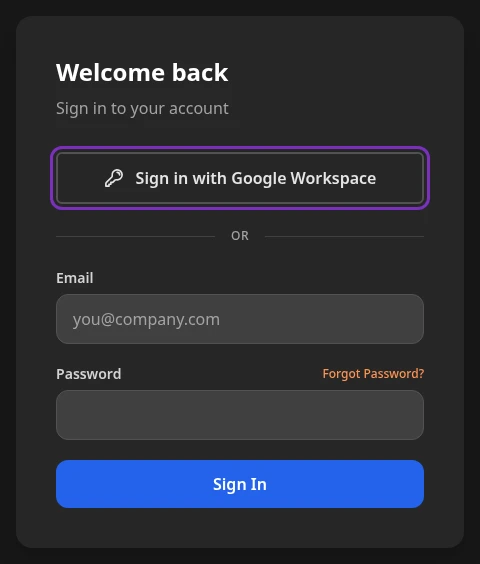
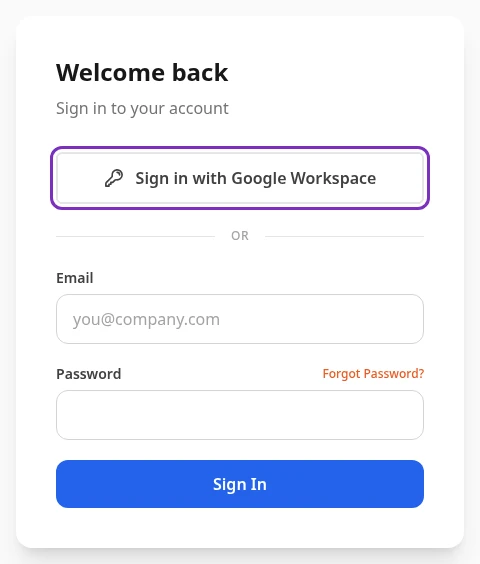
- Your identity provider checks passwords and two-step verification. Anima HR doesn’t ask for its own code after single sign-on, even when the MFA Policy requires one, and even for people who set up two-step verification in Anima HR.
- People stay signed in the same way as after a password sign-in: until they log out, or until they haven’t used Anima HR on that browser for 7 days.
- Signing out of your identity provider, or removing someone from it, doesn’t end the Anima HR sessions they already have: they stay signed in on those browsers until they log out there or stop using Anima HR there for 7 days.
How accounts are matched
Section titled “How accounts are matched”Anima HR finds the person by the email address your identity provider sends: the email claim for OIDC, and the Name ID or Email Attribute for SAML. Upper and lower case don’t matter.
- An account has that email address. The person signs in to it, with its roles. If your identity provider sends a first or last name that’s different from the one in Anima HR, Anima HR replaces it at every sign-in.
- No account has it. Anima HR creates one, in Pending HR Review with the Employee role, even with User Self-Registration off. Someone who’s in Anima HR under another address, such as jdoe@ instead of jane.doe@, gets a second account: correct their Email in Anima HR before they sign in.
- The account has been deactivated. The sign-in is refused.
Limits
Section titled “Limits”- One OIDC app and one SAML app per workspace.
- OIDC: your identity provider must sign with RSA (RS256, RS384 or RS512). Most do by default.
- SAML: there’s no domain restriction, so who can sign in depends on who you assign the app to. Because every workspace uses the same entity ID,
urn:hrms:sp, an identity provider that needs a different identifier for each app, such as Microsoft Entra ID, can connect to only one Anima HR workspace with SAML. - HR Admins can open the Authentication tab but can’t change it. The page sends them every saved value, the Client Secret included.
If single sign-on fails
Section titled “If single sign-on fails”When single sign-on fails, people see Sign-in didn’t complete with one of these messages and a Back to sign in button. What each one usually means for you:
| Message | Likely cause |
|---|---|
| Single sign-on isn’t set up for this workspace. | SAML 2.0 SSO or OIDC SSO is off, or was turned off while the person was signing in. OIDC: Issuer is empty. |
| Your sign-in link expired or was already used. Please sign in again. | OIDC: the sign-in took more than 10 minutes, or the person went back to an old page of your identity provider. |
| Your identity provider did not approve the sign-in. | OIDC: your identity provider refused, for example because the person cancelled or isn’t allowed to use the app. |
| Your account isn’t allowed to sign in to this workspace. | The email address isn’t at the Domain Restriction domain (OIDC), or the person’s account has been deactivated. |
| Single sign-on failed. Please try again or contact your administrator. | Anything else, most often a setting: an empty field, a wrong Client Secret, endpoint or JWKS URI, or no email address in what your identity provider sends. OIDC also: your identity provider didn’t confirm the email address is verified (see Require verified email), or the sign-in came from another issuer than Issuer. For SAML also an expired or wrong Signing Certificate, a response signed twice or with SHA-1, an encrypted assertion, a sign-in started from your identity provider, or one that took more than 10 minutes. |
If your identity provider shows an error of its own before sending people back, such as a redirect URI mismatch, compare what you registered with Values for your identity provider: the addresses must match exactly, https:// and /api/ included.