Admin quick start
This page takes you through your first hour as the admin of a new Anima HR workspace: turning on admin mode, running the setup wizard, trying things out with sample data, and clearing it out to start with your real data. When you’re done, work through the go-live checklist.
Your new workspace
Section titled “Your new workspace”When your company signs up on animahr.io, the workspace address fills in from the company name, such as acme.animahr.io. If that address is taken, a number is added (acme-2), and you can change it. After Review & Create, Anima HR emails a 6-digit code and a link to the address used to sign up. Enter the code on the signup page, or open the link: either one creates the workspace, and that email address becomes its first Admin. The code and the link work for 24 hours, and nothing is created until one of them is used. After 10 wrong codes, both stop working and you start the signup again.
When the workspace is ready, the signup page asks you to choose your password. Then select Sign in to your workspace and sign in with your email and that password. You’re taken to the setup wizard, which turns admin mode on for you. A welcome email confirms the workspace’s address. If you closed the page before choosing a password, select Forgot Password? on the sign-in page to get a link by email. See Sign in for more about your first sign-in.
Turn on admin mode
Section titled “Turn on admin mode”As an Admin, you only have the access of your other roles, usually Employee, until you turn on admin mode. Most of Settings, and everything to do with sample data, needs admin mode.
-
Select your name in the top bar. On a phone, open the menu instead.
-
Select Elevate to Admin.
The page reloads. An orange bar, ⚡ Admin mode — actions are being logged, stays at the top of every page, and the label under your name reads Admin ⚡.
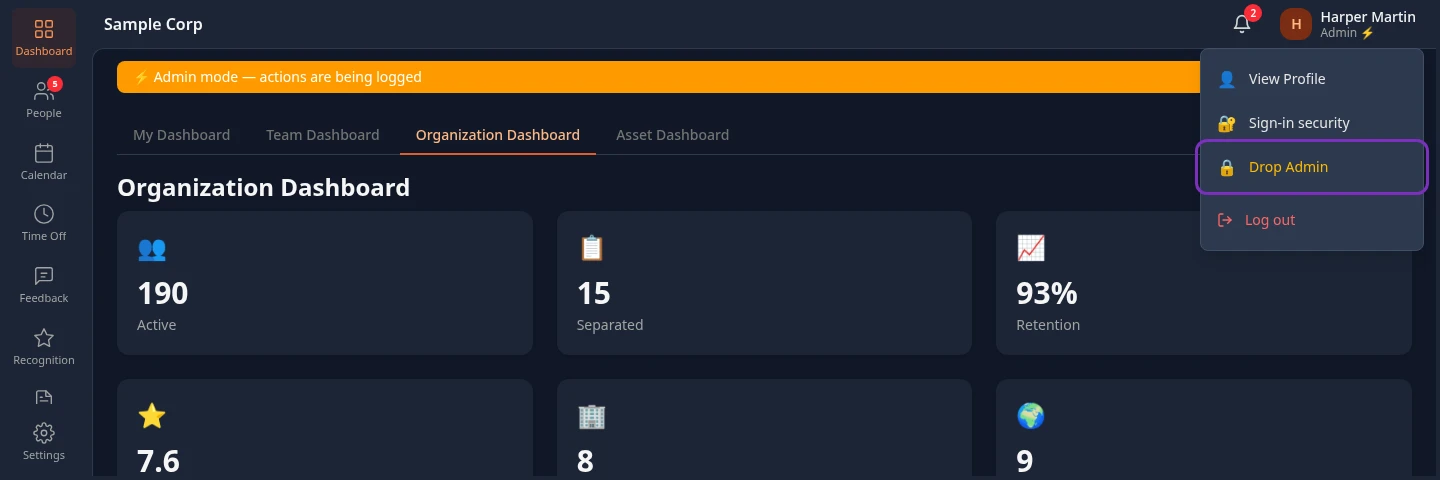
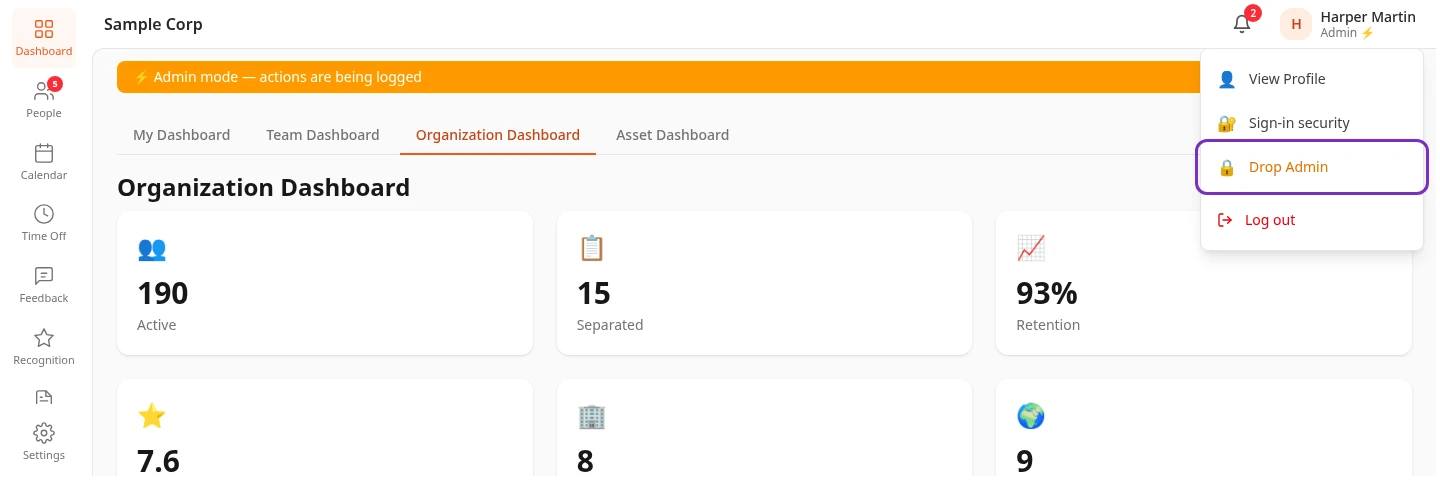
To leave admin mode, select Drop Admin in the orange bar or in the menu under your name. Admin mode also ends when you close the browser tab, but not when you log out, so drop it before you log out. Everything you do in admin mode is logged, so turn it on for the change you need to make, then drop it. See Admin mode for more.
Choose how to start
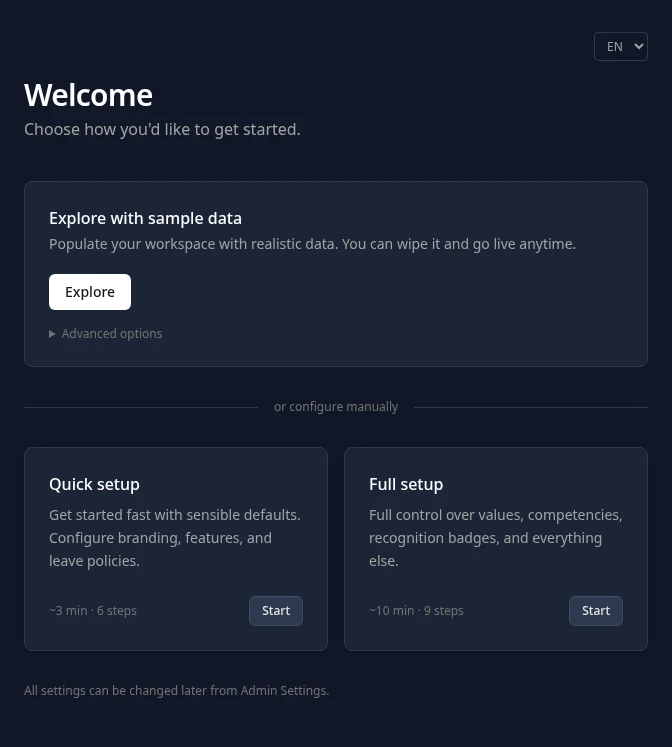
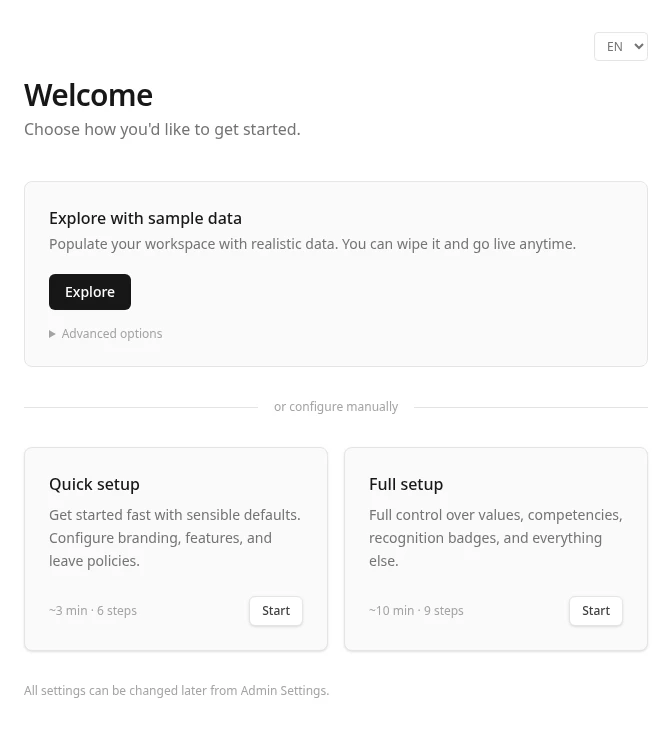
Section titled “Choose how to start”The setup wizard opens on Welcome, with three ways to start. The EN list at the top right changes the wizard’s language to Spanish (ES) or Portuguese (PT).
| Option | What it does |
|---|---|
| Explore with sample data | Fills your workspace with a sample company of 50 employees, so you can try every module. When you’re ready, Go Live removes it and you set up your real workspace. |
| Quick setup | Five steps with sensible defaults: branding, modules, locations, leave and onboarding. |
| Full setup | The same steps plus company values, competencies and recognition badges: eight steps in all. |
To skip sample data, go straight to Run Quick setup or Full setup.
Explore with sample data
Section titled “Explore with sample data”-
On Welcome, under Explore with sample data, open Advanced options if you want to change the sample company. Each field is optional:
- Company Name: the sample company’s name. Left empty, it’s Sample Corp.
- Admin First Name and Admin Last Name: your name in the sample company. Left empty, your name is taken from your email address:
jane.doe@acme.combecomes Jane Doe. - Employee Regions: the style of people’s names and the public holidays. Only the first region you select is used. With none selected, they match the region your workspace runs in.
-
Select Explore.
Setting up your workspace shows the progress. Keep the page open until it’s done.
-
When Your workspace is ready! appears, select Go to Dashboard →, or wait 5 seconds.
What’s in the sample data
Section titled “What’s in the sample data”Dates are set around the day you load the data, so the sample company looks busy today.
- People: 50 employees in an org chart from the CEO down, with HR records and salaries. You join as the head of HR, with the title CHRO, reporting to the sample CEO and signing in with your own email. Some people have left or are serving notice, and five new people are waiting in Pending HR Review.
- Time off: 18 months of past requests and 2 months of plans, people out this week, and requests waiting for approval.
- Performance: an open annual review cycle with self reviews coming in, past cycles, feedback, recognition, 1:1 notes and People Analyzer scores.
- Calendar: the region’s public holidays, plus company and team events.
- Hiring: open jobs, candidates at every stage, past interviews with scorecards, and upcoming interviews.
- Learning and surveys: courses and enrollments, an open pulse survey, the results of closed surveys, and a draft.
- People operations: onboarding checklists, people leaving, promotions and transfers, and training.
- Pay and workplace: expense reports, loans, payroll runs and payslips, attendance, shifts, assets and bookings.
- CRM and support: deals and support tickets.
- Approvals: requests waiting in managers’ inboxes, with their notifications.
Every module is switched on except AI connections (MCP) and AI connectors, and the sample company’s teams, areas and titles are filled in. While sample data is loaded, your plan is Trial: see Plans and features.
The sample-data banner
Section titled “The sample-data banner”While sample data is loaded, a banner shows at the top of every page. Admins in admin mode see You’re exploring with sample data. Ready to start with real data? with a Go Live button. Everyone else, including Admins who aren’t in admin mode, sees You’re exploring with sample data. Ask your admin to go live when ready.
Go live: remove the sample data
Section titled “Go live: remove the sample data”Going live deletes the sample company and everything else in your workspace, then opens the setup wizard so you can set up your real workspace. Only an Admin in admin mode can do it, and it can’t be undone.
-
Turn on admin mode.
-
In the banner at the top of the page, select Go Live.
-
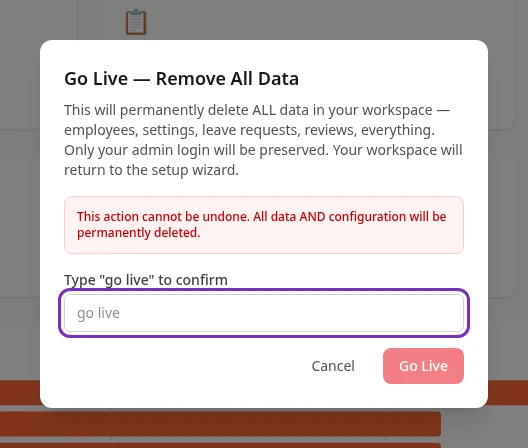
Read Go Live — Remove All Data. Type
go livein the box, in lowercase, then select Go Live.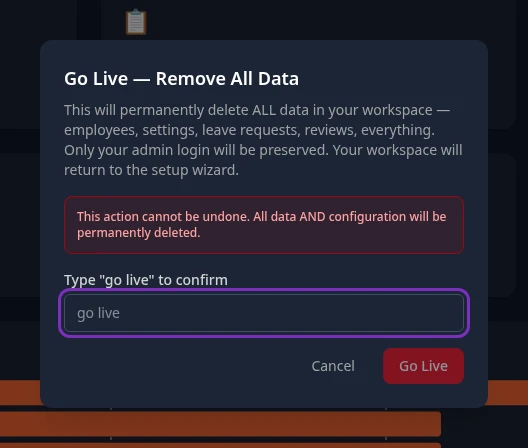
-
Keep the page open while the dialog shows Scanning data… and then Deleting with a count of items.
-
When it’s done, the setup wizard opens. Run Quick setup or Full setup.
Going live deletes:
- every person: the sample people and anyone you added yourself;
- every record in every module, such as time off, reviews, feedback, candidates, payslips, assets and tickets;
- every setting, including branding, modules, leave policies, holidays, roles, approval flows, and sign-in and email settings.
It keeps:
- your sign-in: your email address, your password and your two-step verification;
- your Admin role;
- your billing account.
Your own profile starts over with the name Admin, and your plan goes back to Trial until you finish setup.
If you go to /setup in your workspace, such as acme.animahr.io/setup, while sample data is loaded, the wizard shows Sample data is active and offers the same clean-up: type go live, then select Remove data and start fresh.
Run Quick setup or Full setup
Section titled “Run Quick setup or Full setup”Select Start under Quick setup or Full setup. The steps are listed on the left. Next → and ← Back move between them, and ← Change mode on the first step takes you back to Welcome. At the top of the wizard, Full setup is called Advanced.
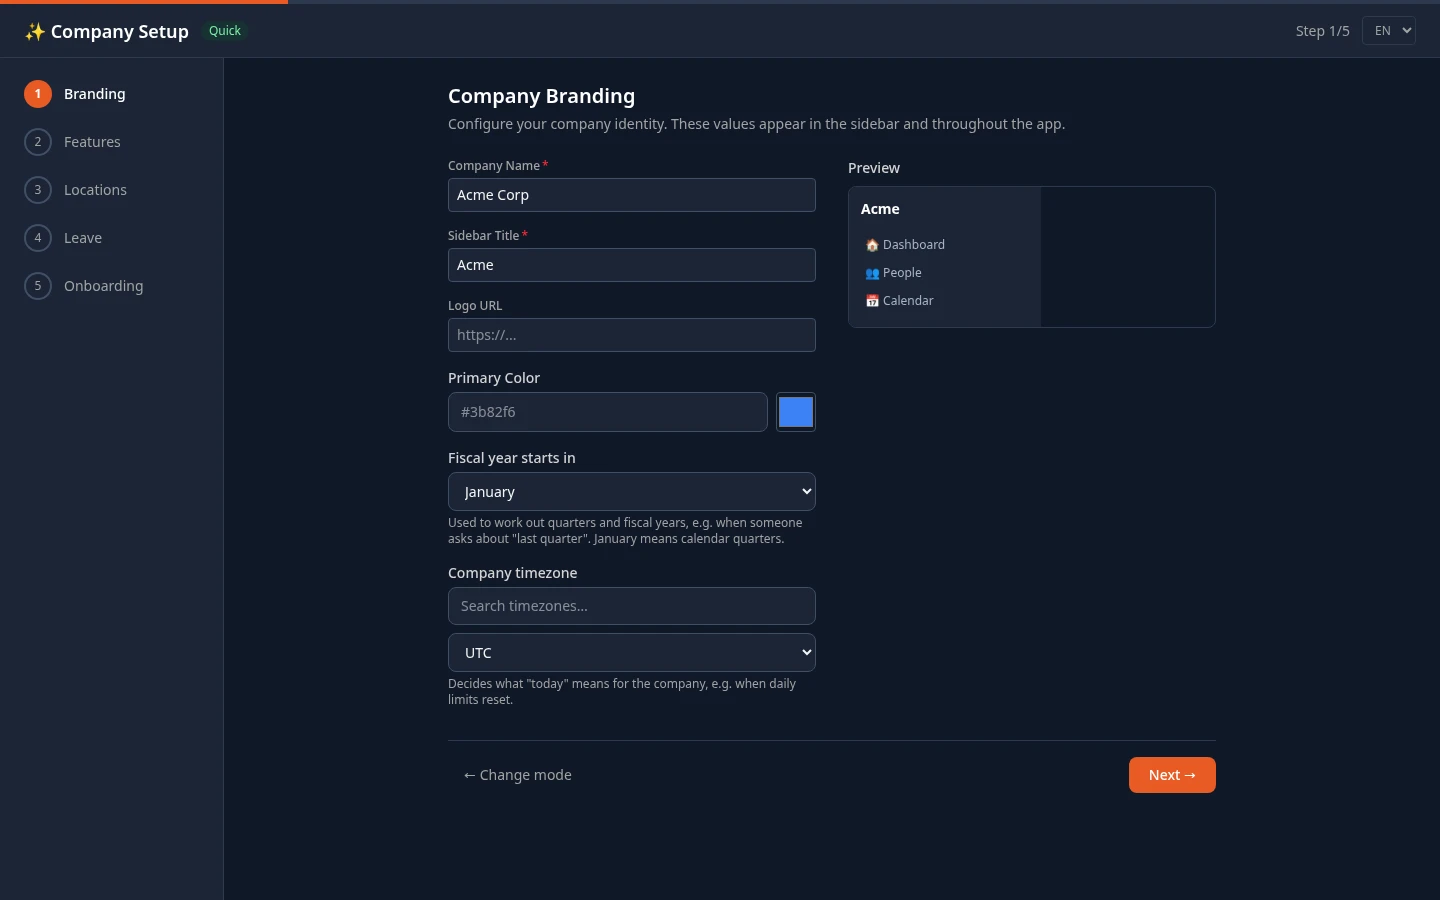
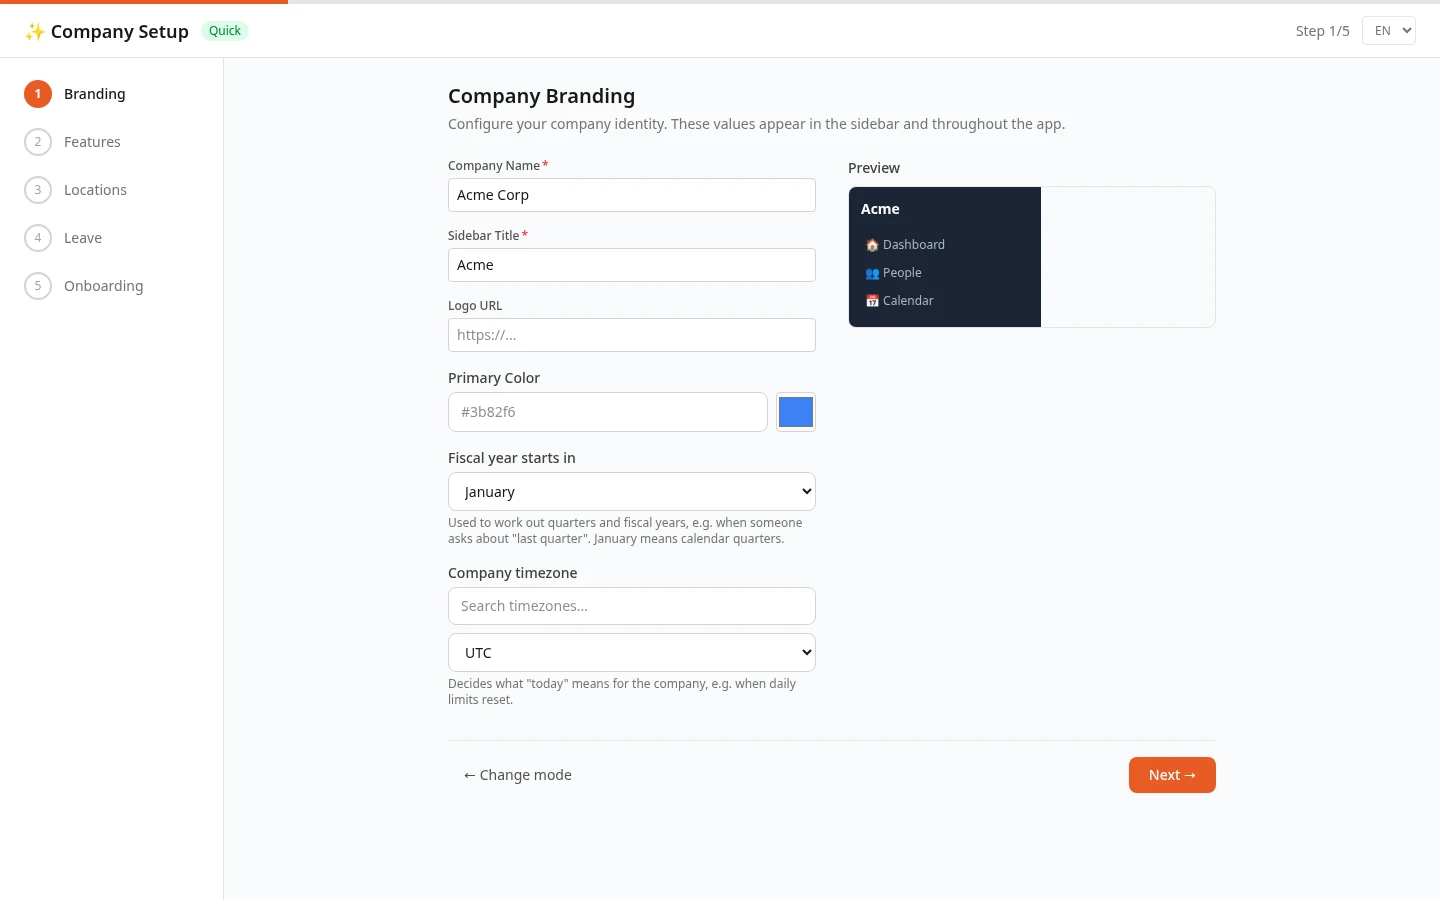
| Step | What you set |
|---|---|
| Branding | Company Name and Sidebar Title, which both start as HRMS, Logo URL, Primary Color, Fiscal year starts in and Company timezone. The sidebar title is the name at the top left of every page, unless you add a logo. |
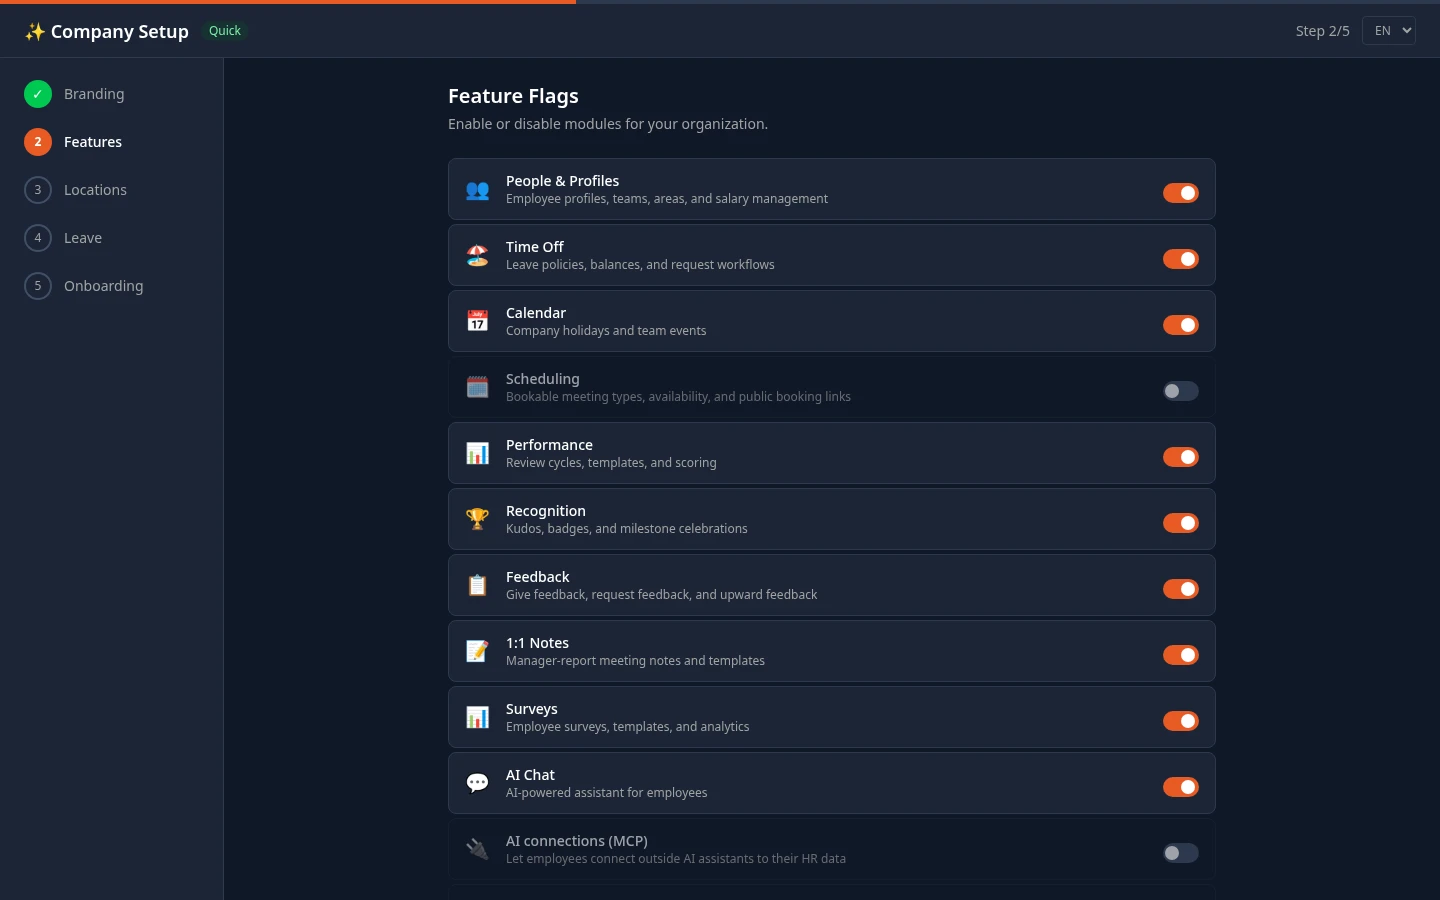
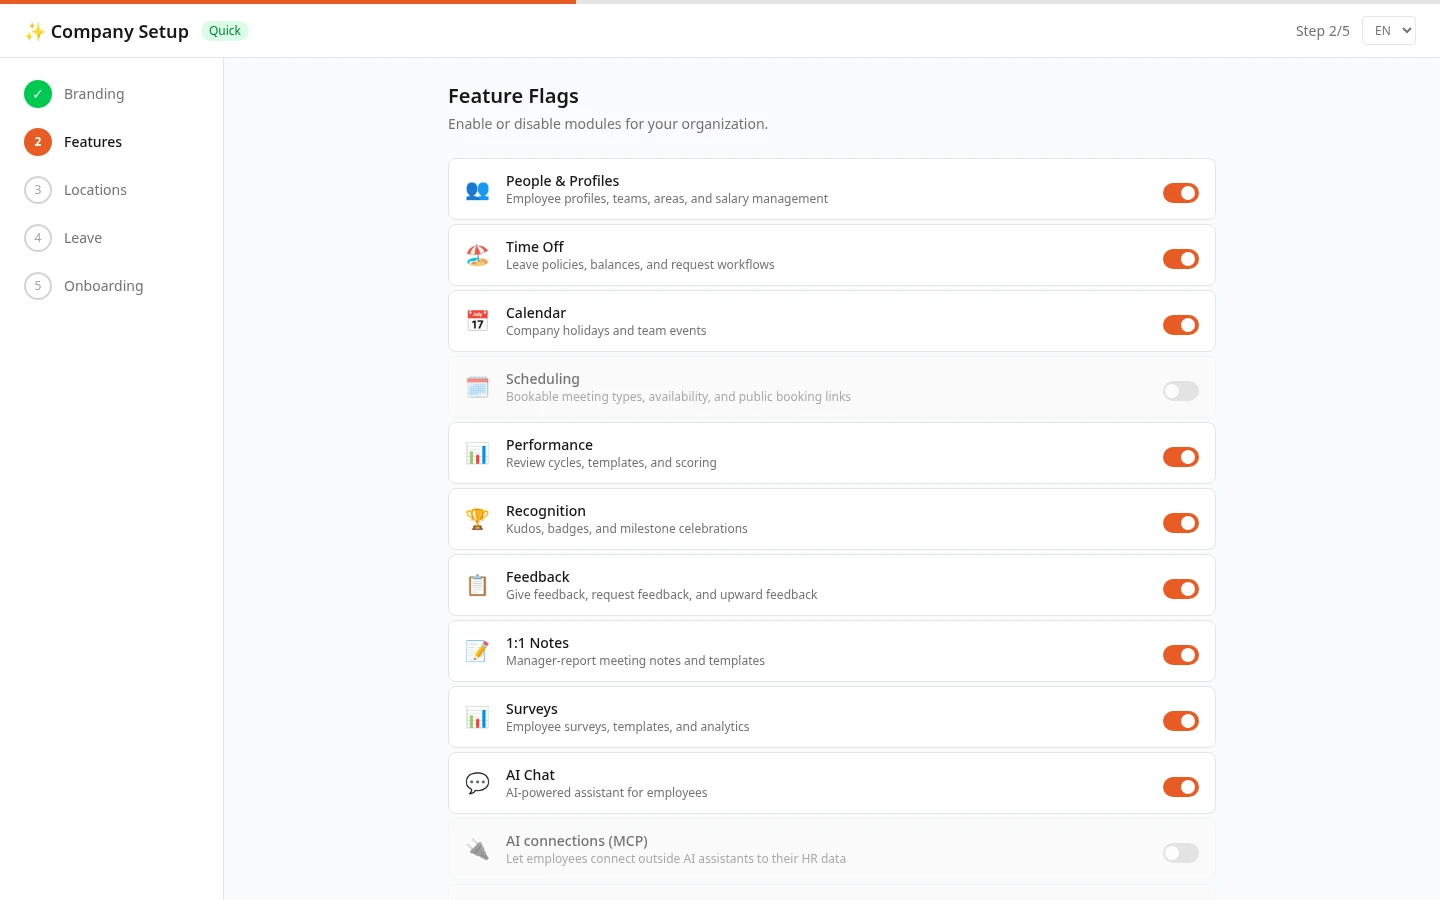
| Features | The modules your company uses, each with a switch. |
| Locations | The regions where you have employees. They decide which country-specific HR fields are available on profiles. |
| Leave | How time off is counted, and the leave types with their entitlements. The options are the same as in Leave policies. |
| Values | Full setup only. The company values used in reviews, the People Analyzer and score dashboards: 3 to 8 of them, starting with Humility, Commitment, Passion, Adaptability and Discipline. |
| Competencies | Full setup only. The competency dimensions used in reviews: 3 to 8 of them, starting with Driving Results, Functional Expertise, Values and Working Together. |
| Recognition | Full setup only. The badges people give each other, each with a name and an emoji. It starts with seven, such as Problem Resolver and Extra Mile. |
| Onboarding | Require Admin Approval, the default, or Auto-Onboard, for people who sign in for the first time. See the note below. |
On Features, these modules start off: Scheduling, AI connections (MCP), AI connectors, Attendance, Shifts, Payroll, Loans, Onboarding Tasks, Separation, Lifecycle and Training. All the others start on. You can switch any module on or off later in Settings.
On the last step, select Finish. Setup completed successfully! appears and your dashboard opens. Your workspace is now live: sample data can’t be added any more, and your plan changes from Trial to Standard.
The wizard keeps your answers in your browser until you finish. If you leave and come back, select Resume to carry on, or Discard to start over.
Admins and HR Admins
Section titled “Admins and HR Admins”You can share the setup work with your HR team by giving them the HR Admin role in Settings › Access › Users & Groups. HR Admins don’t use admin mode: their access is always on. See How roles work.
| Task | Admin, in admin mode | HR Admin |
|---|---|---|
| Load sample data, go live, run the setup wizard | Yes | No |
| Branding, modules, HR fields, teams, areas, titles, leave policies and holidays | Yes | Yes |
| Add people, and activate the people in Pending HR Review | Yes | Yes |
| Edit roles, and change people’s roles (Settings › Access) | Yes | No |
| Sign-in, email delivery and billing (Settings › System) | Yes | No |
| Approval flows (Settings › Approvals) | Yes | No |
| The Payroll, Reimbursements, CRM, Chat and AI connections (MCP) settings | Yes | No |
Can’t see this?
Section titled “Can’t see this?”- There’s no Elevate to Admin in the menu under your name. You don’t have the Admin role. Another Admin can give it to you in Settings › Access › Users & Groups.
- Settings only shows Display, Theme & Language. Turn on admin mode.
- The banner has no Go Live button. Turn on admin mode.
- The setup wizard doesn’t offer sample data. Your workspace is live. Sample data can only be loaded before you first finish setup.