Set up HR profile fields
هذا المحتوى غير متوفر بلغتك بعد.
Settings › People › HR Fields decides what’s on everyone’s profile: the basic fields every person has, the rows of the Work Information card, and the country fields in each HR profile. For every field you also choose an access type, which decides who can see and change it.
Open HR Fields
Section titled “Open HR Fields”-
Select Settings in the menu bar. If you’re an Admin, turn on admin mode first: select your name at the top right, then Elevate to Admin.
-
Open People. It opens on the HR Fields tab.
-
Make your changes, then select Save changes in the bar at the bottom of the page.
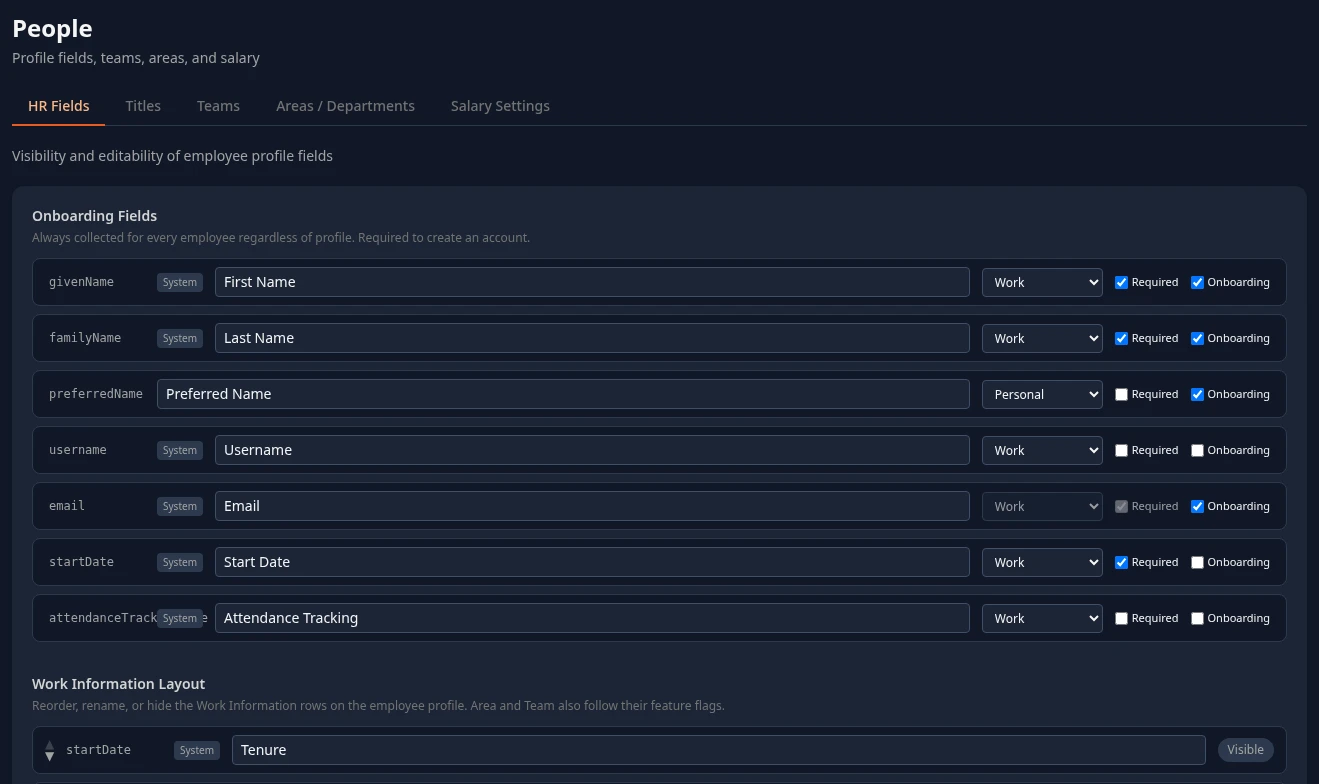
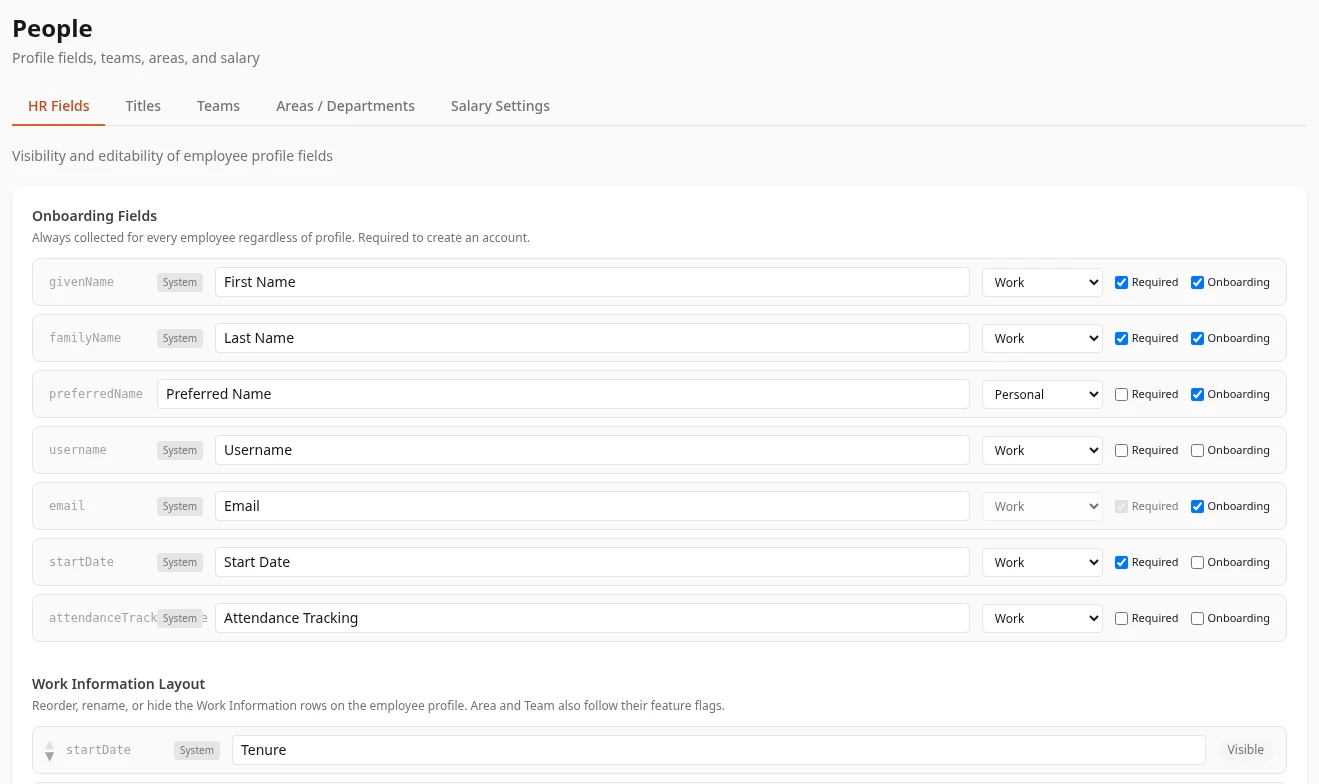
The tab has three parts, from top to bottom: Onboarding Fields, Work Information Layout and Country / Region Profiles. HR Admins can open and save it without admin mode.
Onboarding fields
Section titled “Onboarding fields”These fields are on every profile, whatever the person’s HR profile: First Name, Last Name, Preferred Name, Username, Email, Start Date and Attendance Tracking. You can’t add or remove fields here. For each one you can change:
| Setting | What it does | Default |
|---|---|---|
| Label | The name shown on profiles. | The names above |
| Access type | Who can see and change the field. See Access types. | Work, and Personal for Preferred Name |
| Required | The profile form won’t save while the field is empty. | On for First Name, Last Name, Email and Start Date |
| Onboarding | Shows the field on the welcome form people fill in when they first sign in with single sign-on. | On for First Name, Last Name, Preferred Name and Email |
Email always has the Work type and is always required: people sign in with it.
Work Information layout
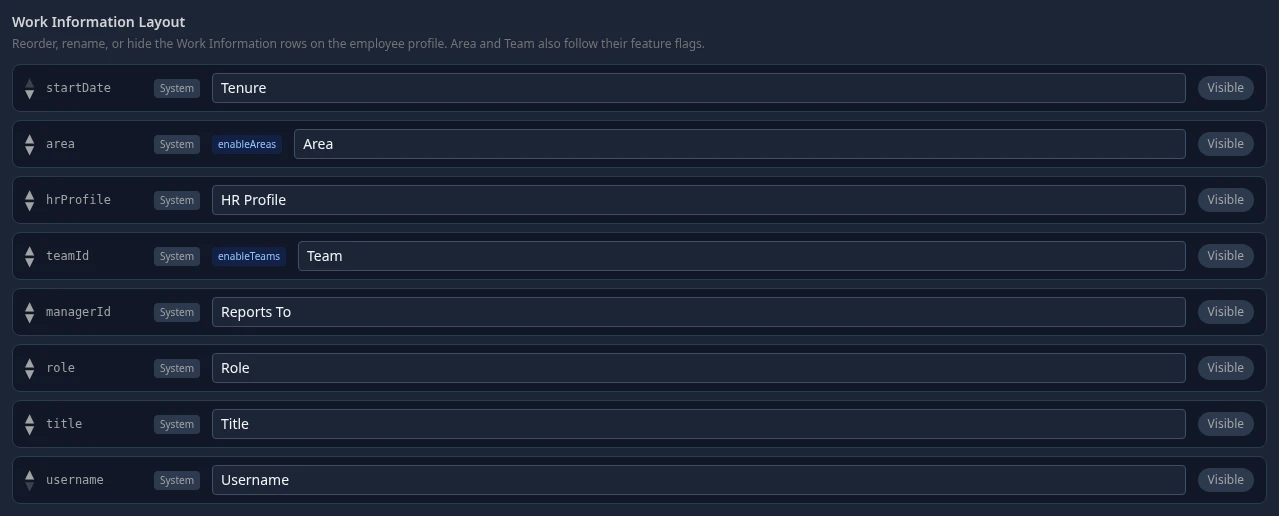
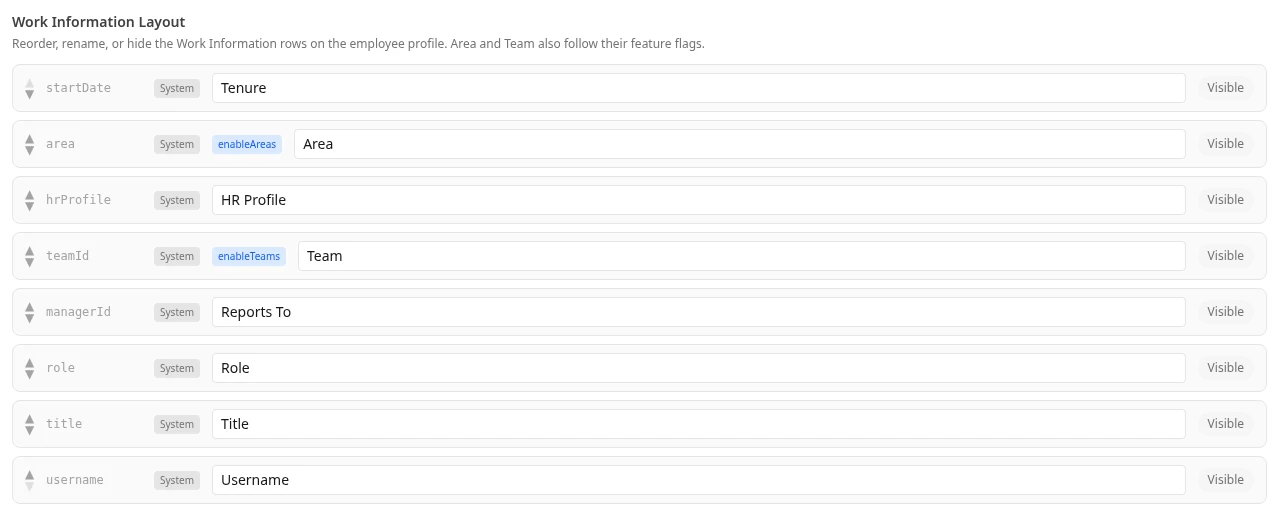
Section titled “Work Information layout”The Work Information card on each profile has eight rows: Tenure, Area, HR Profile, Team, Reports To, Role, Title and Username. Here you can rename them, change their order with the arrows, and hide a row with its Visible button (it then reads Hidden). You can’t remove them.
- Hiding a row only takes it off the profile page. It doesn’t protect anything: the name, title, username and manager are visible to anyone who can open a profile.
- Area also disappears when you turn areas off. See Job titles, teams and areas.
- HR Profile only shows when your company uses more than one HR profile. See Use country HR profiles.
- The blue enableAreas and enableTeams badges mark the two rows that follow a switch.
Groups and fields in an HR profile
Section titled “Groups and fields in an HR profile”Every other field belongs to an HR profile, such as United States or India, and sits in one of its groups, such as Personal Information or Contact & Address. Each person sees the fields of their own HR profile. Open a profile with its tab under Country / Region Profiles: its groups are listed on the left and its fields on the right. To add or remove whole profiles, see Use country HR profiles.
Groups
Section titled “Groups”- + Add Group adds a group called New Group at the bottom. Type its name in the box at the top of the group.
- Change the order with the arrows next to each group in the list on the left. Profiles show the groups in that order.
- To delete a group, select the bin at the top right of the group. You can only delete an empty group: move its fields to another group first.
Add a field
Section titled “Add a field”-
In the group you want, select + Add Field. A new field appears at the bottom of the group.
-
Type the field’s name in Field label. The box to its right fills in the field’s id from the name. You can change the id now; once you save, it can’t be changed.
-
Set the field’s options in the row of buttons under the name.


-
Select Save changes.
| Setting | What it does | Default for a new field |
|---|---|---|
| Type | text, select (a list to choose from), date, email or tel (a phone number). For select, type each choice in Add option… and select + Add; select × next to a choice to remove it. | text |
| Optional / ✱ Required | Select to switch. A required field must be filled in before the profile form saves, and before the welcome form is sent if the field is on it. | Optional |
| No onboarding / Onboarding | Select to switch. Onboarding is meant to show the field on the welcome form, but fields in an HR profile don’t appear there yet. | No onboarding |
| Visible / 🚫 Hidden | Select to switch. A hidden field is put away: nobody sees it, Admins and the person included, and changes to it aren’t saved. Unhide it to bring it and its saved values back. | Visible |
| Access type | Who can see and change the field. See Access types. | Private |
| Group | Moves the field to another group of the same profile. | The group you added it in |
- Change the order of fields in a group with the arrows to the left of the name, or type a position in the box between them.
- To delete a field, select the bin at the right of its name. Values people already saved stay stored but no longer show.
- Every field needs a label, and two fields in the same profile can’t have the same id. If you break a rule, Save rejected – fix these issues: appears above the form with the field that needs fixing.
- Reset to defaults (at the bottom of the tab) puts the built-in fields and all built-in HR profiles back into the form and drops the fields you added. Nothing changes until you save.
Every field saves on profiles, the ones you add included. A value has to fit its field type: a date in a date field, an email address in email, a phone number in tel and one of the choices in select. Otherwise Couldn’t save: appears with the field’s name and nothing in that save is kept. Fields you hide aren’t saved either.
Access types
Section titled “Access types”Each field has one access type, and each type has its own view and edit permissions in the roles matrix. The reach of those permissions decides whose fields people can see and change: their own, their team’s or everyone’s. The field’s access type is the only thing that controls who sees it.
| Access type | Use it for | Who sees it with the standard roles | Who changes it with the standard roles |
|---|---|---|---|
| Work | Title, team, start date and other work details | Everyone in the company | HR |
| Personal | Phone, address, birth date, emergency contacts | The person, their managers and HR | The person and HR |
| Private | ID document numbers, tax and social security numbers, visas | The person and HR | HR |
| Admin | Employer, employment type, benefits | HR | HR |
| Termination | When and why someone left | HR | HR |
| Custom1 to Custom4 | Your own group of fields, for example medical details | Admins in admin mode only, until you add the matching permissions to a role | Admins in admin mode only |
- There is no type for pay. Salaries and raises belong in Salary, where the Salary permissions control them. A field that had the old Compensation type is now treated as Private.
- “Their managers” means the person’s manager and every manager above them. “HR” means HR Admins, and Admins in admin mode.
- Fields people can’t see are removed before the profile reaches their browser.
- A change of type applies to the next profile anyone opens.
- To change who can see or change a type, change the role, not the field. See How access works and Create a custom role.
What each type means for employees is in Who can see what on your profile.
Can’t see this?
Section titled “Can’t see this?”- No People card in Settings. The People module is off, or you’re an Admin and admin mode is off. See Turn modules on and off.
- Save says you don’t have permission. Saving needs Manage HR field definitions in the People rows of the roles matrix.